


Hosting Node.js was once a difficult task, especially on multi-user web hosting servers. Installing JavaScript applications and configuring Node.js environments, on the other hand, is a piece of cake with cPanel & WHM’s Application Manager, allowing web hosts to offer intuitive Node.js hosting services with an easy-to-use graphical interface.
This article will walk you through activating cPanel’s Application Manager as well as installing, registering, and managing Node.js applications.
Table of Contents
Getting Started With the cPanel Application Manager
In Application Manager, cPanel users can register Node.js applications and associate them with a domain. To provide this feature to hosting users, server administrators must first install a number of support packages and activate Application Manager.
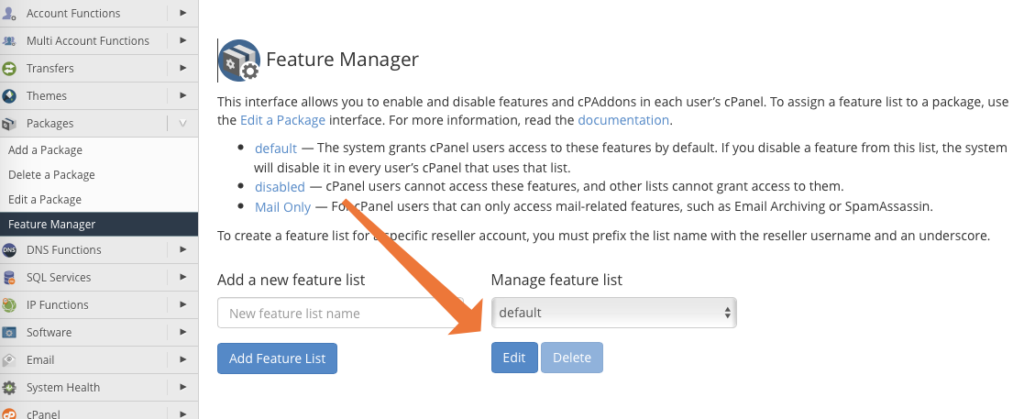
To enable Application Manager, we’ll use WHM’s Feature Manager. Open Feature Manager, which is located in the WHM sidebar menu under Packages.
Under Manage Feature List, click the Edit button with the Default list selected in the dropdown menu.
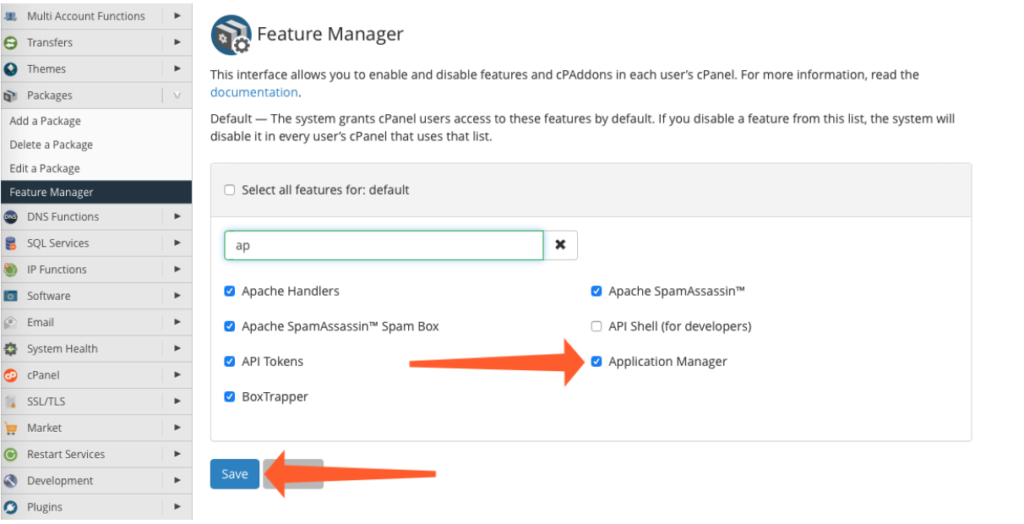
Enter Application Manager in the search field and ensure that its feature list entry is checked. If it isn’t, click the adjacent box before clicking Save at the bottom of the page.
Following that, we’ll install the software that enables cPanel to run and manage Node.js applications, such as the mod passenger app server and EasyApache4’s Node environment. To install the software, you must log in as root using SSH:
yum install ea-ruby24-mod_passenger ea-apache24-mod_env ea-nodejs10Application Manager is now ready to host Node.js applications in user cPanel accounts.
Creating an Application in the cPanel Application Manager
Using cPanel to host applications is a two-step process:
- Install the app on the server.
- Register it with Application Manager.
In the following section, we’ll look at registering an application, but first, we’ll install it on the server. Git version control system users could clone a repository using the command-line client or the Git Version Control interface in cPanel. To demonstrate the process, we’ll make a simple single-file application.
Log in as a cPanel user with SSH and create a new directory in their home directory.
mkdir nodejsappYou can name the directory whatever you want. This is where the code files for your app will be stored. Using your preferred text editor, create a file called app.js in this directory. Unless you have a compelling reason to change the naming convention, cPanel expects the application’s entry point to be called app.js.
Copy and paste the following code into the new file.
const http = require('http')
const hostname = '127.0.0.1';
const port = 3000;

const server = http.createServer((req, res) => {
  res.statusCode = 200;
  res.setHeader('Content-Type', 'text/plain');
  res.end('Hello World! I am your new NodeJS app! \n');
});

server.listen(port, hostname, () => {
  console.log(`Server running at http://${hostname}:${port}/`);
});
On port 3000, the code starts an HTTP server. It responds to web requests by saying, “Hello World! “I am your new NodeJS application!”
We could proceed to the registration step right away, but let’s make sure the app works first. Execute the following command to run our mini-app with EasyApache’s Node.js installation.
/opt/cpanel/ea-nodejs10/bin/node app.jsIf everything goes well, you will see a message that says:
Server running at http://127.0.0.1:3000Finally, launch a new terminal window and log in as the same cPanel user. To send a request to the app, we’ll use the curl HTTP client.
curl http://127.0.0.1:3000If it responds with “Hello World! I am a NodeJS app on cPanel,” you can proceed to the next step, which is registering your Node.js app with cPanel.
Registering Your Node.JS Application in the cPanel Application Manager
Registering your application tells the Passenger app manager and cPanel where to look for it and which domain to use.
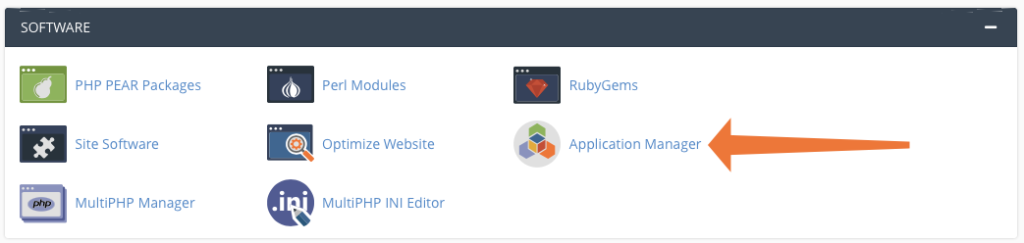
Open the Application Manager in cPanel, which can be found on the main page under Software.
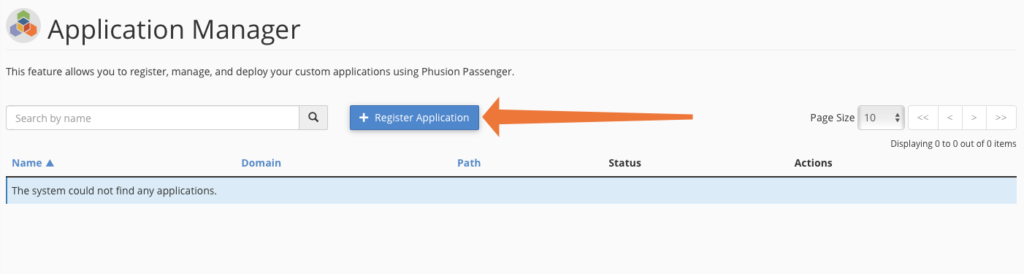
Click the Register Application button.
We must provide four pieces of information in the Application Configuration table:
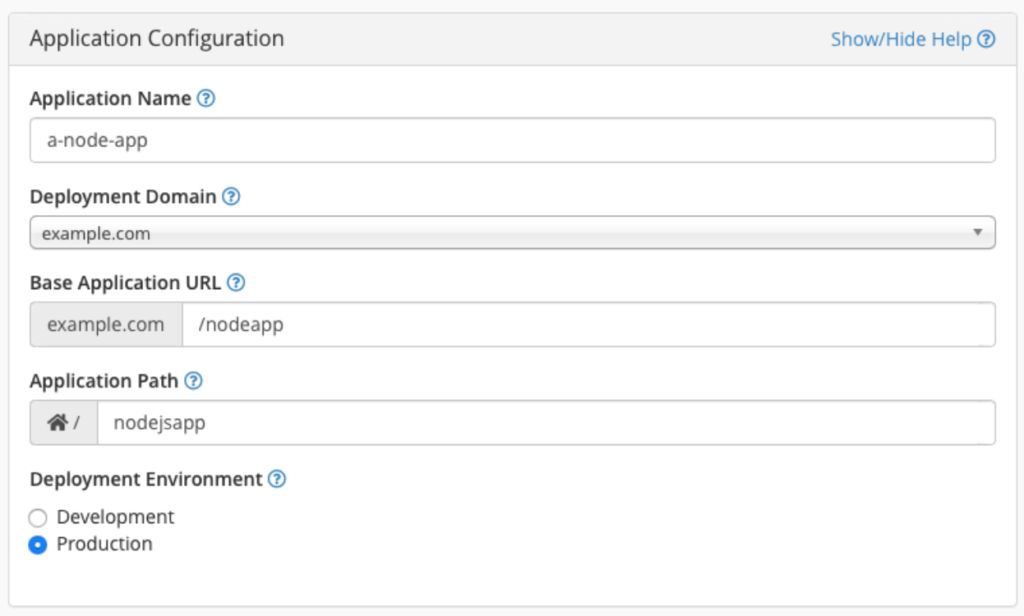
- Application Name: The application’s display name. You can use any name you want, but it must begin with a number or letter and cannot contain periods.
- Deployment Domain: The domain name of the app. The domain must already be linked to a cPanel account.
- Base Application URL: The home page of the app will be accessible via the deployment domain + the base URL. For example, if you enter “nodeapp” in this field and the Deployment Domain is “example.com,” the app will be served from “example.com/nodeapp.” The URL extension does not have to be the same as the directory in which the app’s files are stored.
- Application Path: The location of the app’s files in relation to the user’s home. In our example, we created a directory called “nodejsapp” in home, so we’d type “nodejsapp” here.
The Deployment Environment selector indicates whether the app is still in development or is ready for production deployment.
An interface for configuring environment variables is located beneath the Application Configuration table. In the following section, we’ll go over them in greater detail.
For the time being, we’ll click the Deploy button at the bottom of the page, and cPanel will configure the environment and domain for the app. When it’s finished, you can open your new app in a web browser by typing “example.com/nodeapp” in our examples.
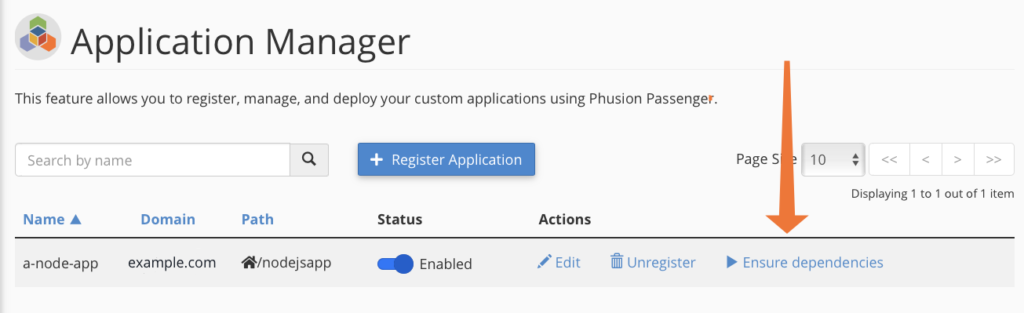
Our one-pager, unlike a real app, has no external dependencies. If it did, the Ensure Dependencies button in cPanel Application Manager would appear for one-click installation. The button is only available for apps that are part of or have a package. json file containing a dependency list.
If you’re following along with our examples and want to see Ensure Dependencies in action, add a package.json file to the app’s directory with the following contents:
{
  "name": "nodejsapp",
  "version": "1.0.0",
  "description": "A Node App",
  "main": "app.js",
  "author": "",
  "license": "ISC",
  "dependencies": {
    "express": "^4.17.1"
  }
}
As you can see, the Express web framework is listed as a dependency. In Application Manager, the Ensure Dependencies button should now be available. When you click it, cPanel installs Express as well as any applications and libraries that it requires.
Adding Environment Variables to Your Node.JS App’s Environment
Environment variables are name-value pairs that hold a piece of data. They function similarly to variables in programming, except that they are external to the program rather than internal to it. Environment variables are used by servers to store useful configuration data.
CentOS, for example, stores a list of directories containing command-line programs in the PATH environment variable. When you type “ls,” the shell searches those directories for an executable file with that name. If there was no PATH variable, you’d have to type the entire command path: “/usr/bin/ls” instead of just “ls.”
The server administrator can modify the PATH environment variable to control which directories the shell searches without modifying the shell’s internal code. You can add environment variables to your Node.js app’s environment using cPanel’s Application Manager to configure its behavior in the same way.
This line of JavaScript in our simple app.js file instructs the app on which port it should listen for connections.
const port = 3000;In reality, when writing code, a developer is unlikely to know the correct port. To give users more options, they could instruct the app to search its environment for a variable called PORT and use its value when configuring the app.
The JavaScript code in Node.js looks like this:
const PORT = process.env.PORT || 3000;This changes the value of the app’s internal PORT variable to the value of the environment variable PORT, or to 3000 if no environment variable is set.
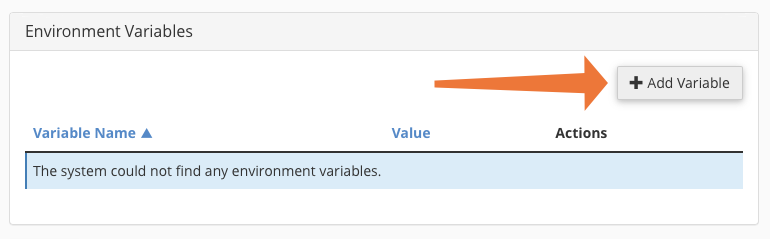
By setting a PORT variable in the app’s environment, the user can now tell the app which port to bind to. To do so, navigate to the Environment Variables interface beneath Application Configuration in cPanel’s Application Manager and click Add Variable.
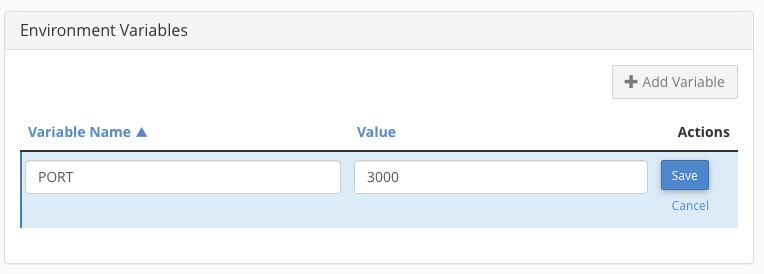
Enter a variable name and value, and click Save.
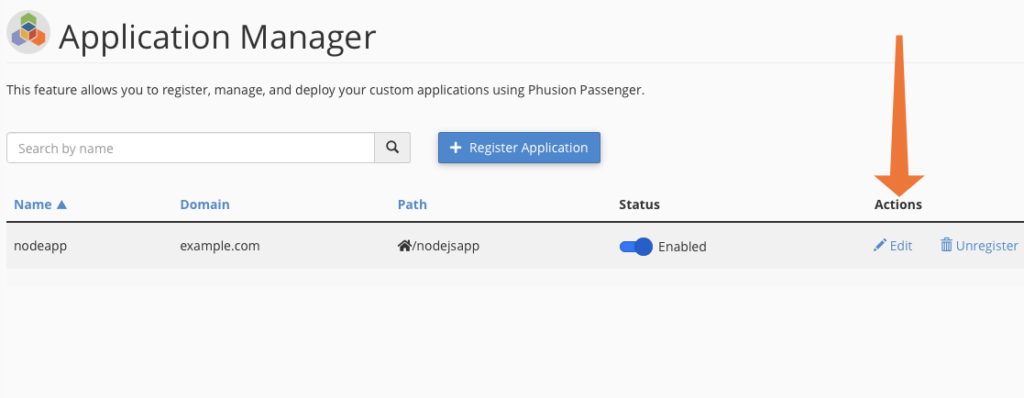
Editing Your Node.JS Application
In the Application Manager, you can change the registration configuration of a Node application.

In the Actions column, click the Edit button. You can edit all of the values you set when registering your application in this interface, including the environment variables.
Uninstalling Your Node.JS Application
Click the unregister link to the right of the Application Manager table to uninstall or “unregister” a Node.js application from cPanel.
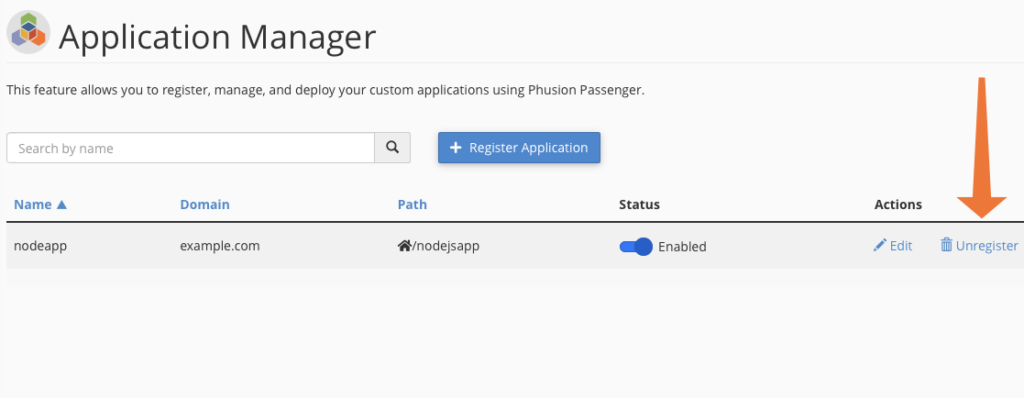
When you unregister an application, it is removed from the list, its configuration file is deleted, and it is disconnected from the domain. The application’s files are not deleted by cPanel, but you can delete them yourself in File Manager or via the command line.