Do you need to change domain nameservers of your site and point your domain to a new WordPress hosting provider?
Nameservers tell the global domain name system where to look for a particular website. This may sound a bit technical, but changing nameservers is actually a fairly straightforward process.
In this article, we’ll show you how to easily change domain nameservers and point to a different host or firewall, step by step.
What Are Nameservers?
Nameservers are part of the global database of the domain name system. Their job is to tell other computers where to find a domain name.
If your web hosting account is the house where your website files live, then the domain name is the street address of that house.
Nameservers tell the internet where to locate the website address associated with a domain name.

When you enter a domain name in your web browser, it first sends a request to a global network of servers that form the Domain Name System (DNS).
These servers then search for the respective nameservers associated with the domain and forward the request accordingly.
For example, if your website is hosted on Harmonweb, then its nameserver information will be like this:
dns1.harmonweb.net
dns2.harmonweb.net
These name servers are computers managed by your website hosting service provider. Your hosting company will forward the user’s request to the computer, also known as the server, where your website is stored.
Why and When Do You Need to Change Domain Nameservers?
There are two primary reasons why you would need to change your nameservers:
- You’re switching your web hosting providers
- You’re adding a web application firewall like Sucuri or Cloudflare to protect your website
When you move your website to a new hosting company, you will need to change the nameserver information for your domain name, so that it points to the new hosting location.
This is extremely important because often your old hosting company will delete your files after your plan expires. If you don’t change the nameserver, then your users will not be able to find your website.
When you’re implementing a web application firewall (WAF), the WordPress WAF plugins will ask you to point your nameserver to them.
This is a required step for all web application firewalls like Sucuri or Cloudflare because it helps them protect your website server from attacks by blocking it at the DNS level.
Aside from these two common reasons, you will rarely ever have to change your nameservers. Although, you may need to add DNS records such as changing MX records for your professional email address, etc.
That being said, let’s take a look at how to easily change your domain’s nameservers and point them to your new host.
FOLLOW THE STEPS BELOW TO CHANGE YOUR DOMAIN NAMESERVER
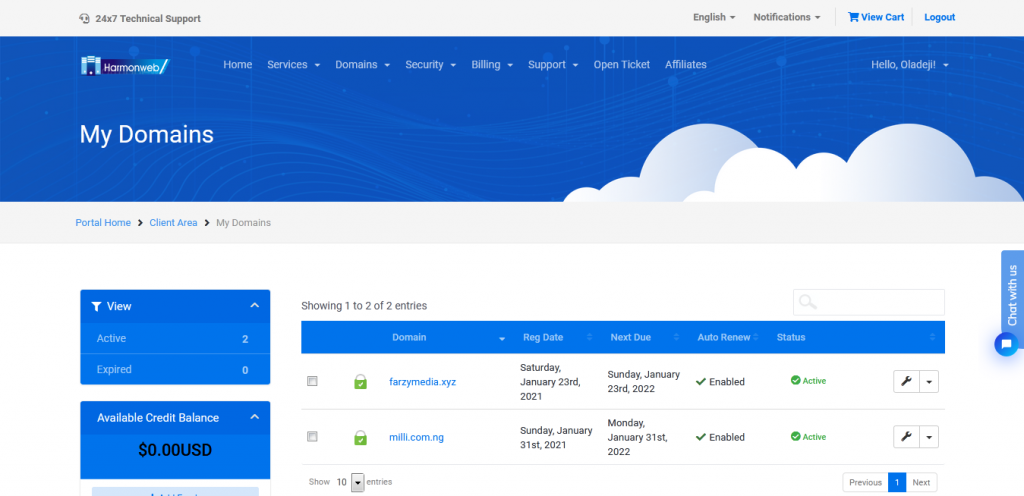
STEP 1;- Login to your Clientarea or Dashboard

STEP 2:- Go to the domains section and click on the domain you want to edit/point the nameserver
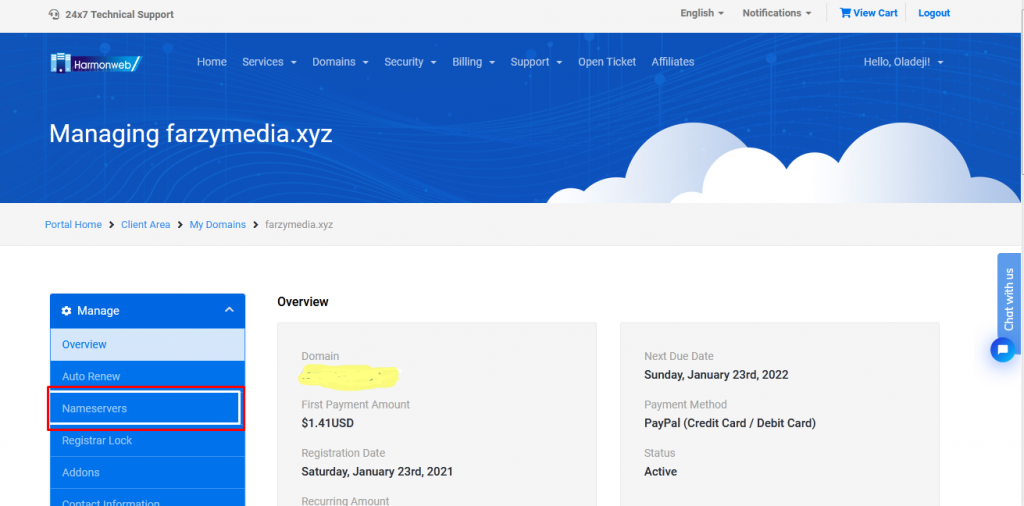
STEP 3:- Find the nameserver section in the domain manager Section
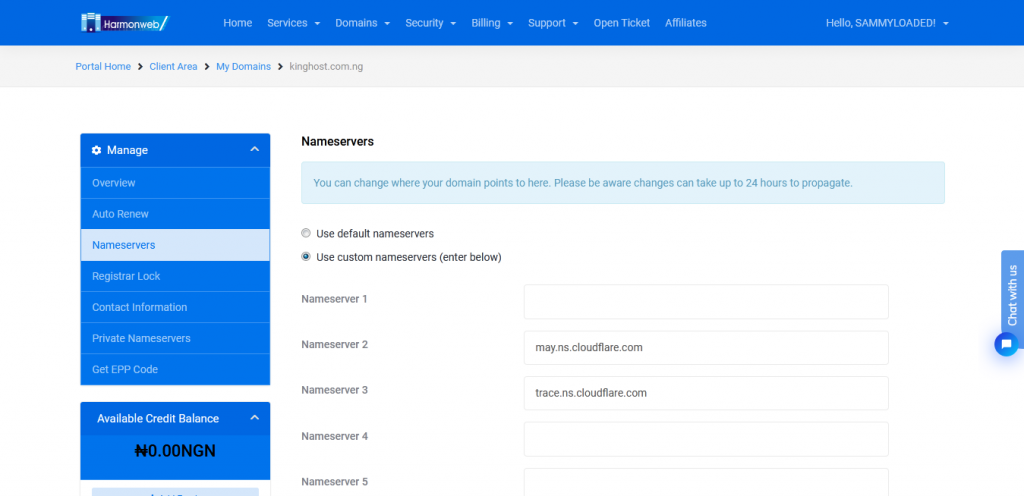
STEP 4:- Input the nameservers you want to change and clear the old one
STEP 5:– Scroll down and click on the Change Nameserver Button
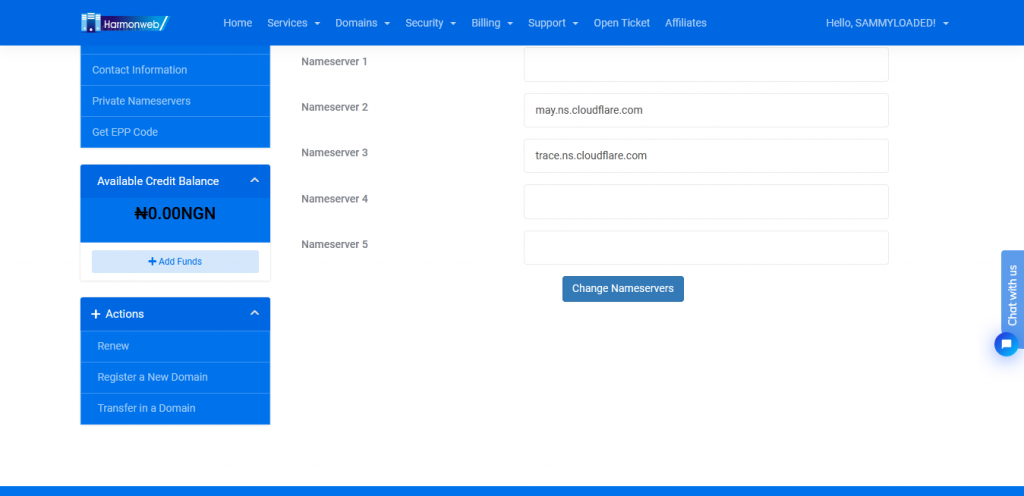
Once saved you have successfully just changed your nameserver and pointed the domain to another hosting or WordPress hosting.