In this tutorial, I will show you how to manage WordPress updates with WP Toolkit.
Using the WP Toolkit feature in the cPanel, you can easily manage all your WordPress installations including its updates. The feature makes it easy for you to keep your WordPress updates, keeping it secure and running smoothly.
To manage WordPress updates with WP Toolkit, here are the steps:
How To Manage WordPress Updates With WP Toolkit
- Log into your cPanel.
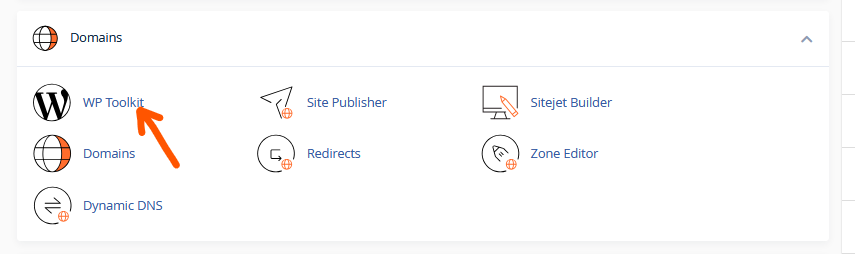
- In the cPanel, go to the Domains section and select WP Toolkit.
- In the WP Toolkit, you will find a list of all your existing WordPress installations.
NB: If you don’t find them, you can easily import them into your WP Toolkit.
- Click on the Updates button for the WordPress installation that you want to update.
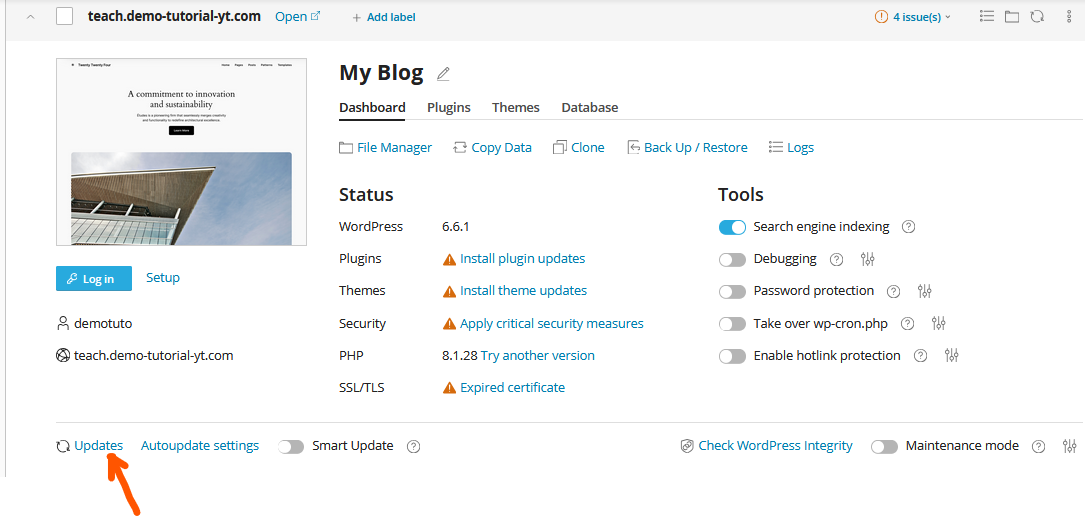
- A list of available updates for your WordPress installation, plugins and themes will appear.
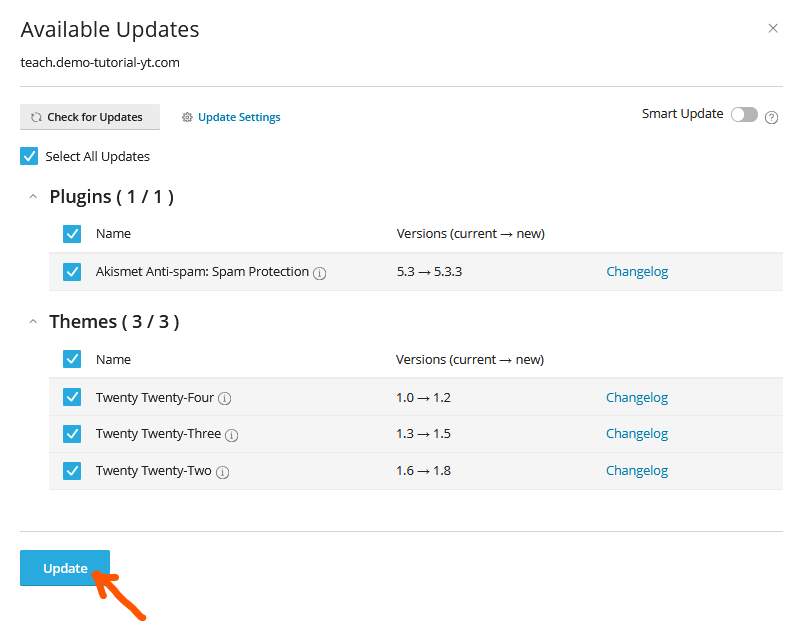
- If WP Toolkit finds any available updates, select them and click the Update button at the bottom.
If you want, you can create a Restore Point by enabling the feature. This will allow you to roll back the update if it affects your site in any way.
Alternatively, you can enable the Smart Update feature, allowing you to test an update without it affecting your website.
Following the steps, you can easily manage WordPress updates with WP Toolkit. If you have any questions, you can leave them in the comment section, I would love to hear from you.