Do you want to Upload Premium theme on WordPress?
Premium WordPress themes have more advanced features and functionalities compared to free themes, such as multiple layouts, custom widgets, and built-in options for customising the design of your website.
In this article, we will share how to easily upload premium theme on WordPress.

Why Use Premium Theme on WordPress?
Premium themes are developed by professional designers and developers, and are often well coded, responsive and optimised for SEO. They also provide a better level of support and updates compared to free themes. Many popular marketplaces like Themeforest, Elegant Themes and StudioPress offer wide range of premium WordPress themes for different niches and purposes.
3 Steps to Upload Premium Theme on WordPress
1. From WordPress dashboard
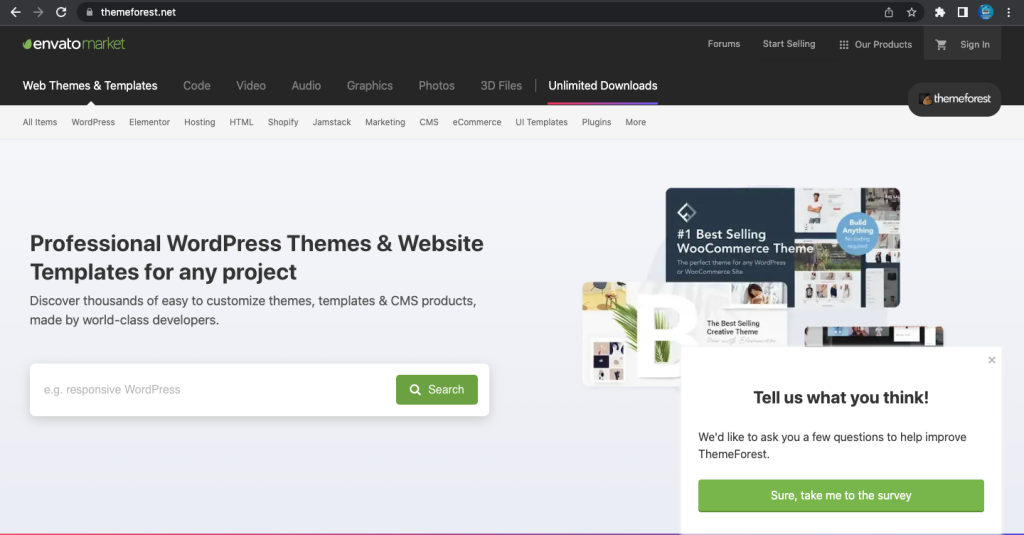
To upload a premium theme from a WordPress dashboard, you will need to first purchase the theme from a market place such as Themeforest.

Once the theme is downloaded, you can log into your WordPress website, navigate to Appearance and then themes. From there, click on the add new button and then the upload theme button.

Select the theme zip file from your computer and click on the install now button. Once the theme is installed, you can activate it to start using it on your website.
2. From Cpanel file manager
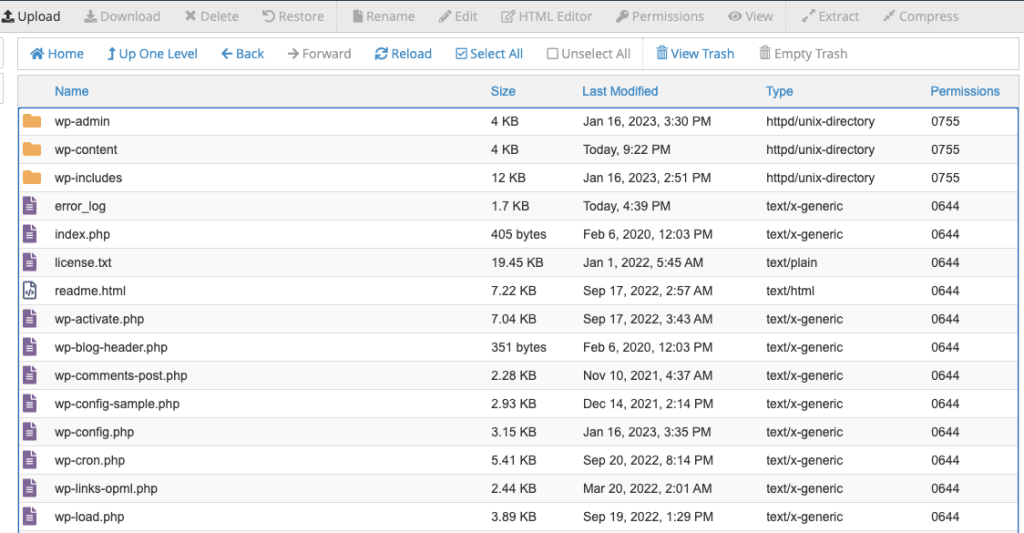
To upload a premium theme from cpanel file manager, you will first need to access your hosting account’s cpanel dashboard. Once logged in, look for the file manager option and click on it. You will then see the file manager interface, navigate to “wp-content/themes” where you will upload your theme.

After that, you will need to click on the “Upload” button on the top menu bar. You will then be prompted to select the file you want to upload. Select the theme’s zip file, and then click on the “Open” button to start uploading.
When the upload is complete, you will need to extract the theme’s zip file. To do this, go back to the “wp-content/themes” folder, and locate the zip file you just uploaded. Right click on the file and select “Extract”.
Once the extraction is complete, you can activate your theme by going to Appearance->Themes in your WordPress dashboard. Click on the activate button to make it live on your website.
3. Using file manager plugin
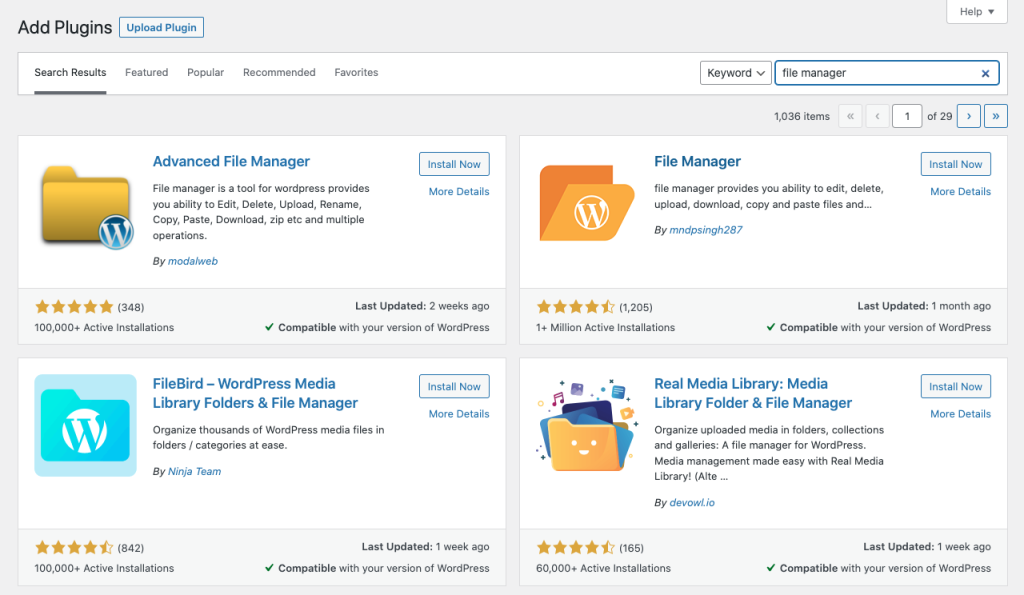
To upload a premium theme using a file manager plugin, you will first need to install a plugin that allows you to manage files directly from the WordPress dashboard. There are several file manager plugins available in the WordPress plugin repository such as “File Manager” and “WP File Manager”.

Once you have installed and activated the plugin, you can access the file manager by going to the plugin’s settings page. This will typically be located in the WordPress dashboard menu under Settings or Tools.
In the file manager, navigate to the “wp-content/themes” folder, and then click on the “Upload” button. Select the theme’s zip file from your computer, and then click on the “Start Upload” button.
Once the upload is complete, you will need to extract the theme’s zip file. To do this, go back to the “wp-content/themes” folder, and locate the zip file you just uploaded. Right click on the file and select “Extract”
Finally, you can activate your theme by going to Appearance->Themes in your WordPress dashboard. You should see the theme you just uploaded listed there, click on the activate button to make it live on your website.
Read Also: WordPress SEO Tutorials for Beginners (2023) – How to Optimise your WordPress Site
Make sure to check the theme’s documentation for any additional steps that may be required for setup, like configuring widgets and menus, and adding custom fields.
If you liked this article, then please subscribe to our YouTube Channel for WordPress video tutorials. You can also find us on Facebook.

