If you are here, you are probably trying to disable lazy load on your website.
WordPress comes with a great feature to give users a faster browsing experience while on your website, and that is lazy load. This feature is especially useful if your website has a lot of images and other media on it, as it slows down the download of these images and media, increasing the page load speed.
However, using lazy load on your WordPress website may bring faster browsing to your website, but you will get this at the expense of the user experience as the images will take time to display.
Let’s get started on how to disable lazy load in a WordPress website.
How to Check if Lazy Load is Enabled
Before we show you how to disable lazy load on your website, we will first show you how to check if lazy load is enabled on the site.
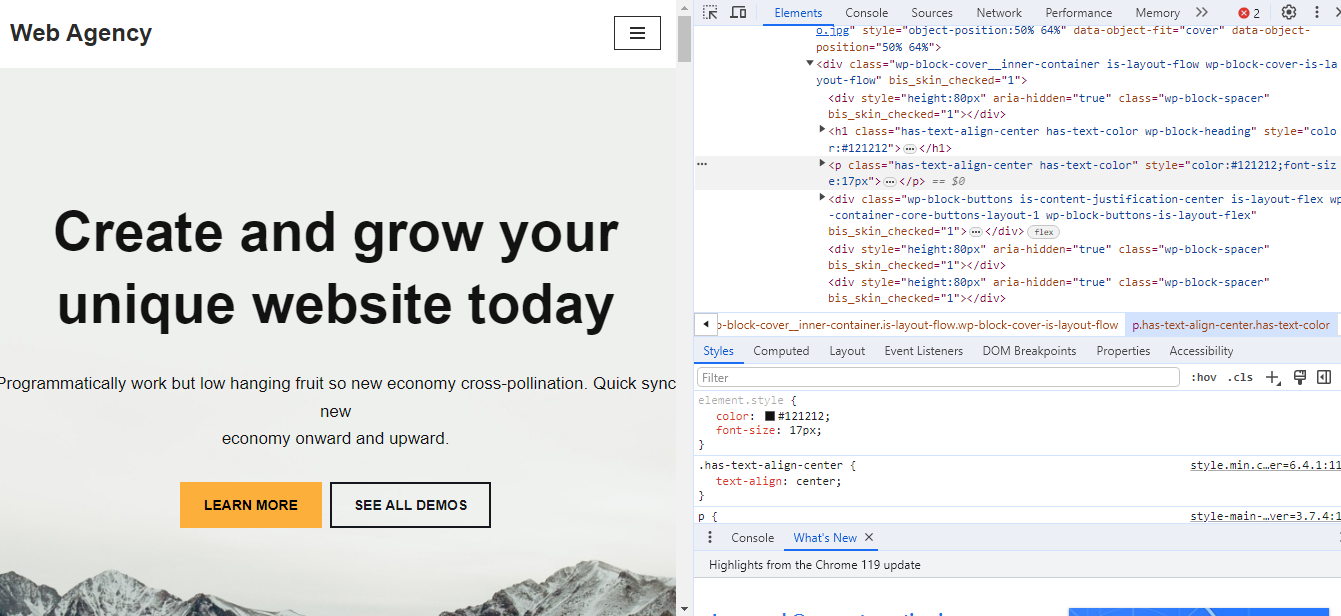
On a page of your website, right-click and select the Inspect tool in your browser.
Your browser screen will be split into two, one half showing the web page and the other half showing the HTML source code of the page.
If you are using a Windows, click CTRL+F.
If you are using a Mac, click CMD+F.
When you do that, a search bar will appear, which you will use to search for the loading=”lazy” attribute. You can just enter lazy in the search bar, and you will see a list of the lazy load attributes enabled on your site.
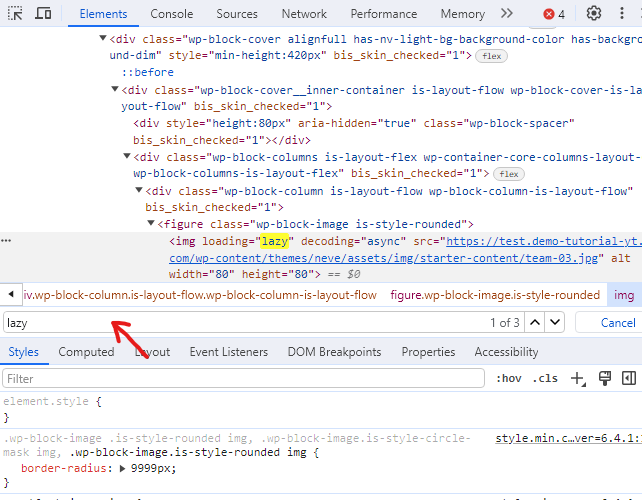
On my website, you can see that I have three.
However, depending on your website, you can have more than that number of lazy load attributes or less.
Let’s go ahead now and learn how to disable lazy load in a WordPress website.
How to Disable Lazy Load in a WordPress Website
You just learned how to check if lazy load has been enabled on your website. Now I will show you how to disable them.
Method 1: Disable Lazy Load in WordPress Using WPCode Plugin
The first way you can disable lazy load in a WordPress website is by using a plugin called WPCode.
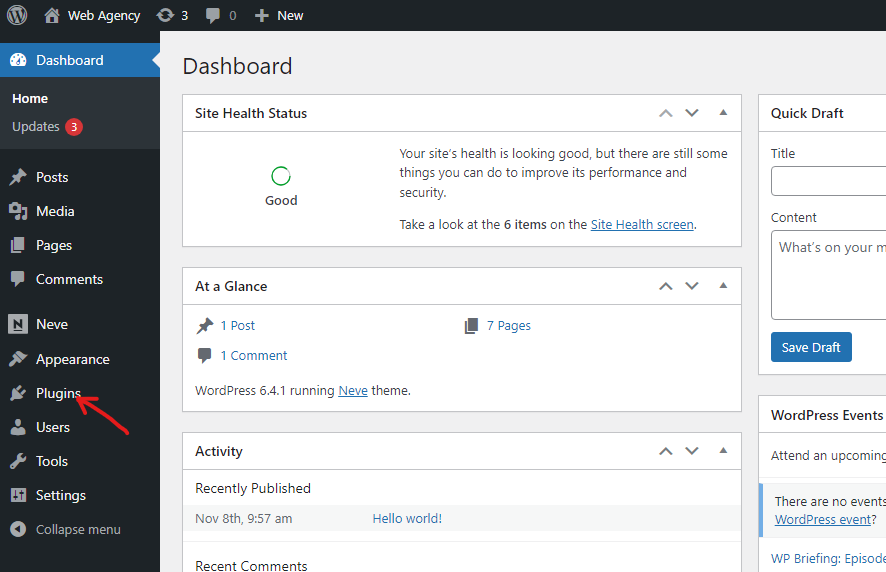
To get started, simply log into your WordPress website and go to the admin dashboard.
On the admin dashboard, on the left sidebar, scroll down to Plugins and select Add New Plugins.
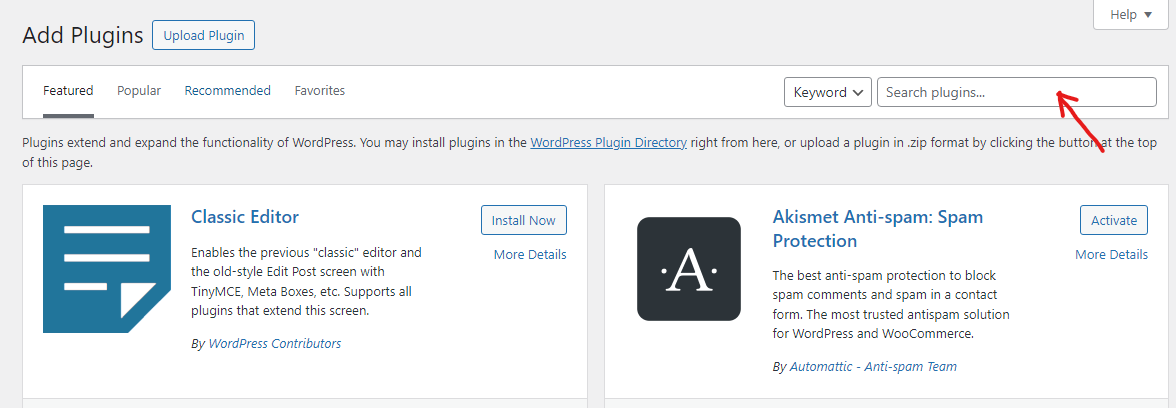
In the search bar at the top of the Add Plugin screen, you will search for WPCode.
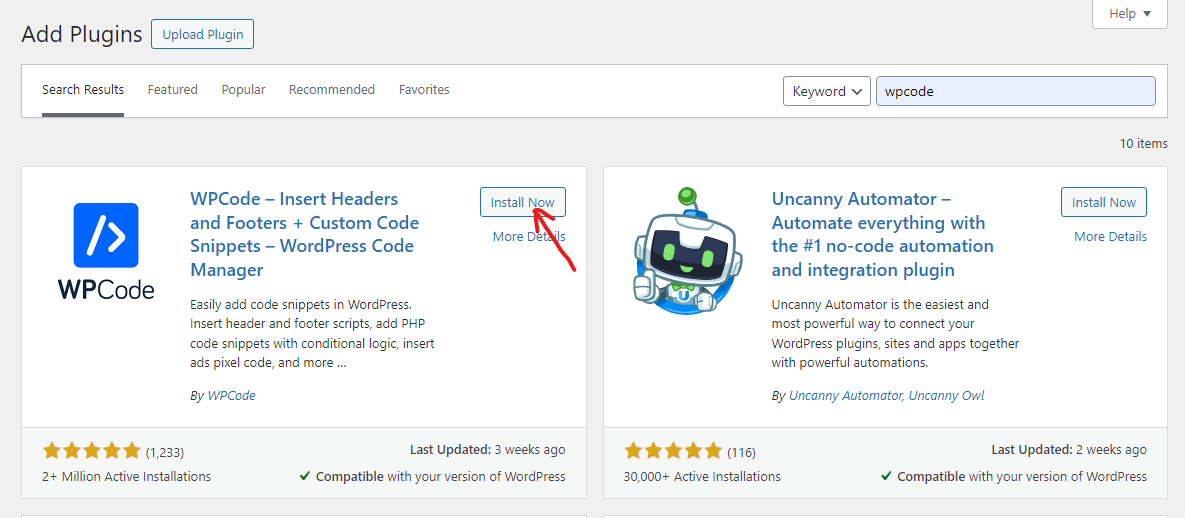
When you have found the WPCode plugin, click on the Install button to install the plugin. After the installation, don’t forget to activate the plugin.
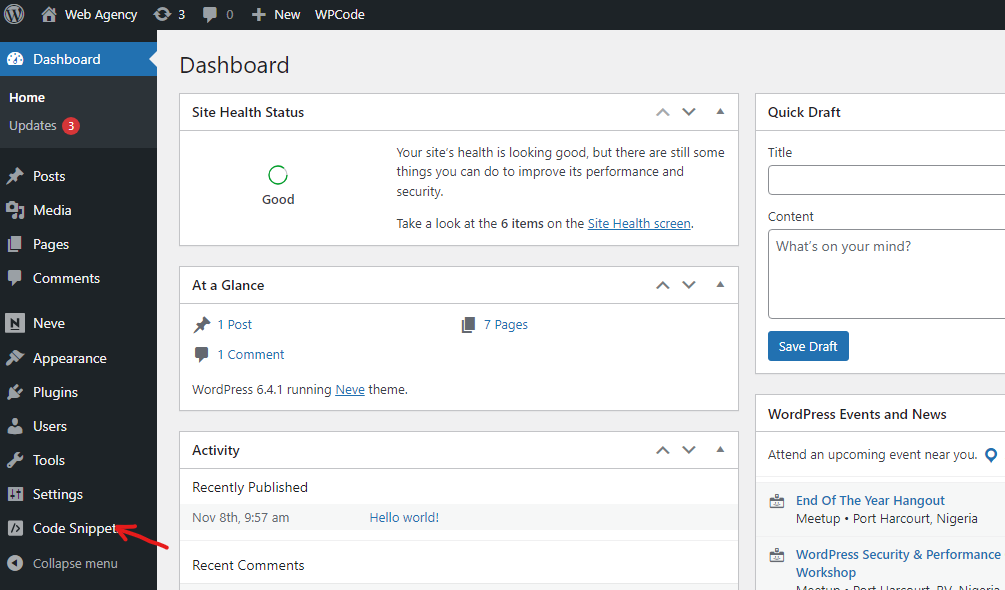
After the WPCode plugin has been successfully installed and activated, in the left sidebar of your admin dashboard, you will find Code Snippets. Hover on it and select +Add Snippet.
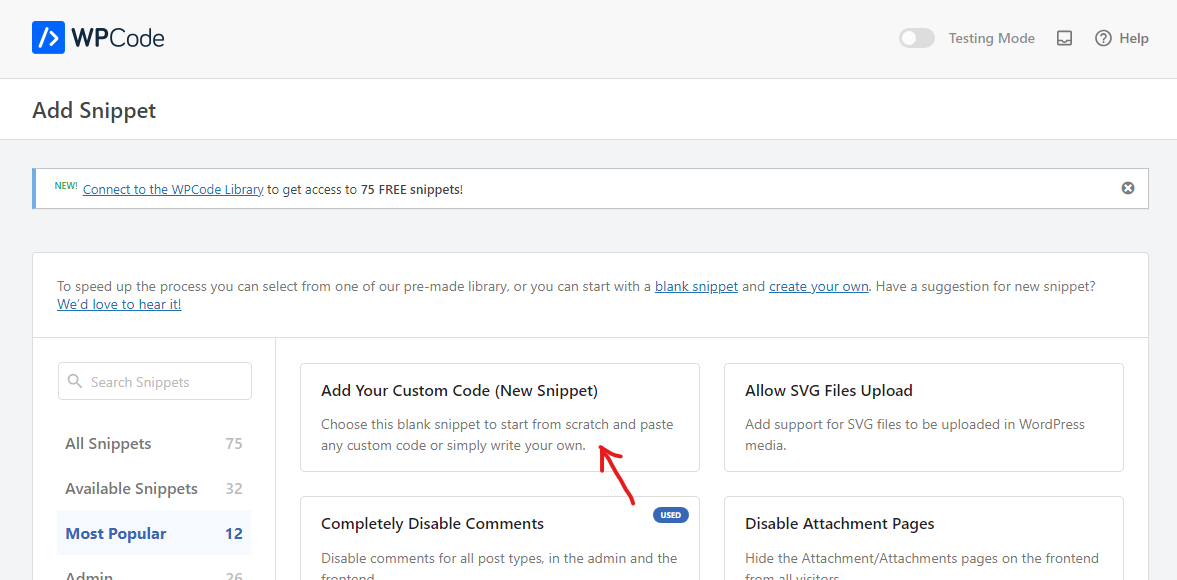
In the WPCode screen, you will scroll down and select Add Your Custom Code (New Snippet).
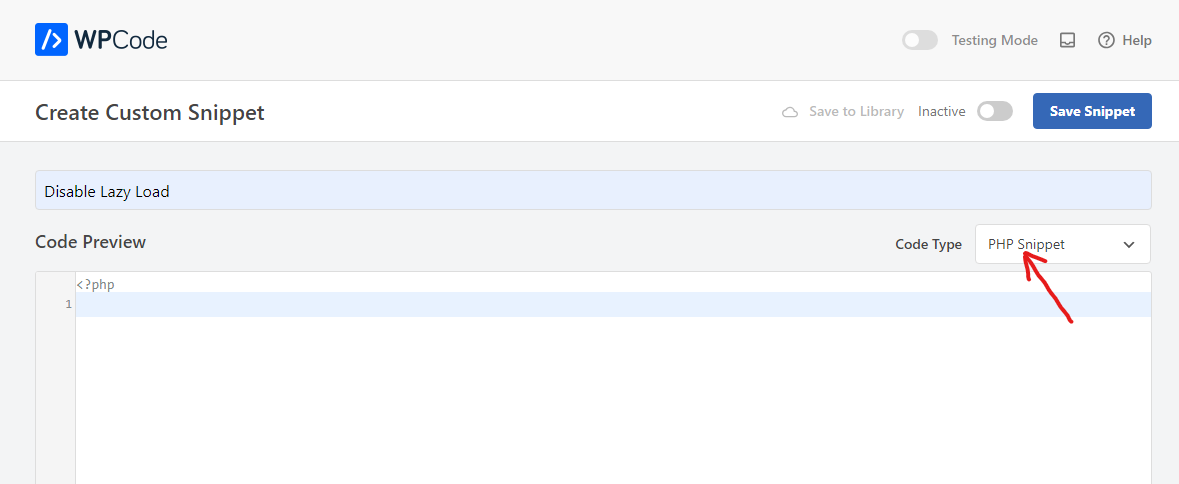
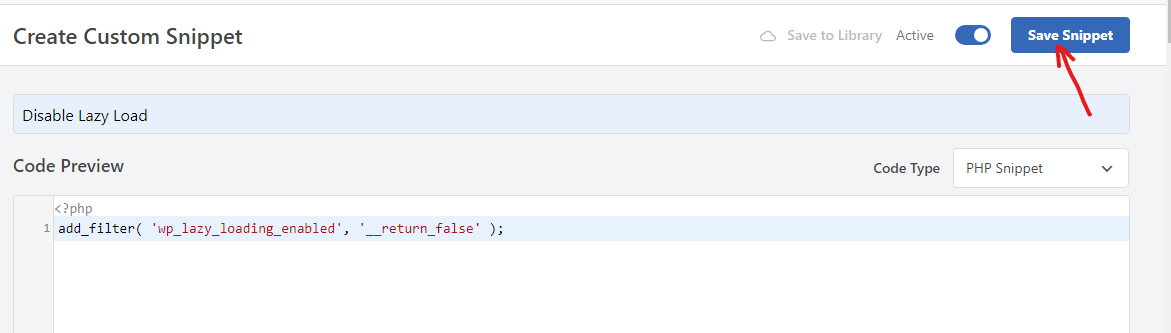
On the Create Custom Snippet page, you can set the name you want to use for the code snippet.
After that, select the Code Type you are using in the dropdown menu. For this, you will be using PHP Snippet.
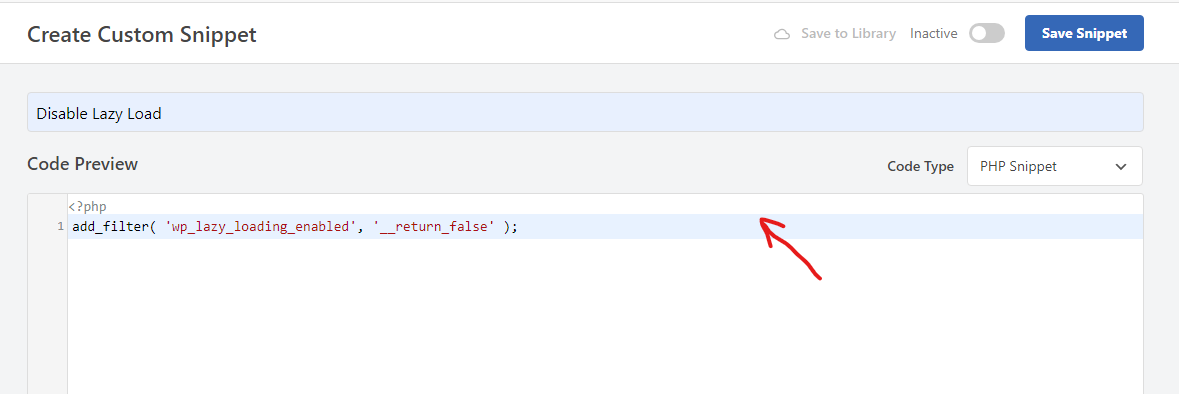
When you have set the code snippet to PHP snippet, you go ahead and copy this code and paste it in the Code Preview box.
add_filter( ‘wp_lazy_loading_enabled’, ‘__return_false’ );
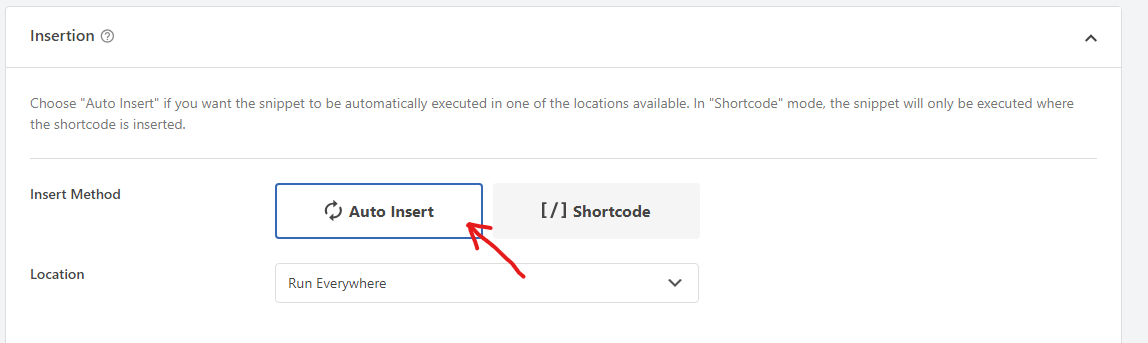
After pasting the code, scroll down to the Insertion section. Leave the Insertion Method in Auto Insert mode. This way, the code will be executed everywhere on your WordPress website.
Now scroll back to the top of the page and switch the Inactive toggle to Active. After you have done that, click on the Save Snippet button to save and execute the code.
Once you have activated the code, you will now successfully disable lazy load feature on your WordPress website.
To confirm, simply go back to your website and right-click, then select the Inspect tool. In the HTML source code, you won’t find the loading= “lazy” attribute.
Method 2: Disable Lazy Load in a WordPress Website using the Disable Lazy Load Plugin
Another method you can use to disable lazy load on your website is using the Disable Lazy Load plugin.
On your WordPress website admin dashboard, go to Plugins and select Add New Plugin.
In the search bar, search for Disable Lazy Load. When you find the plugin, install and activate it.
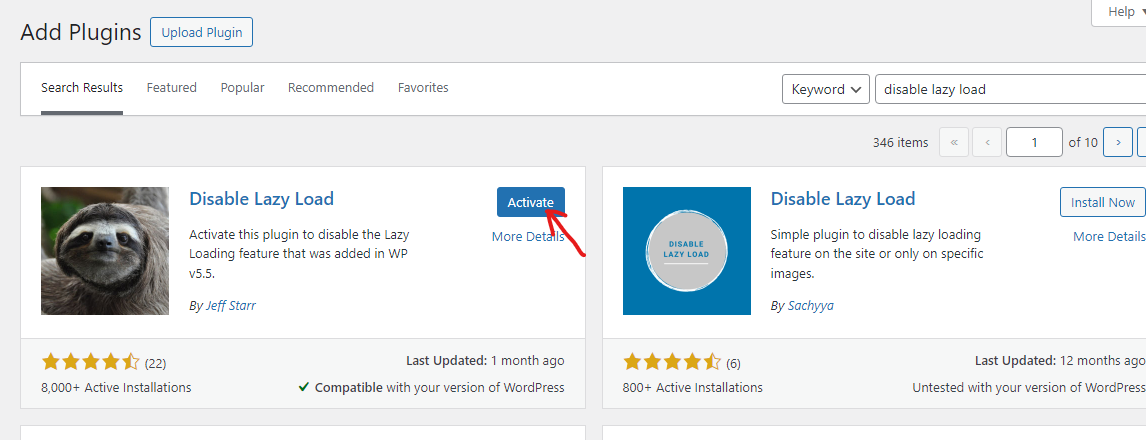
This plugin doesn’t require you to do any configuration or adding of code. Lazy load on your website will be automatically disabled once you have installed and activated the plugin.
Now, I have given you the two methods you can take to disable lazy load in your WordPress website. You can now choose between the two options.
Note: If you already have Disable Lazy Load activated on your website, there is no need for you to use the WPCode to disable the lazy load.