In this tutorial, I will show you how you can manage MySQL Database with phpMyAdmin in the cPanel.
In the cPanel, you have certainly come across the phpMyAdmin feature, which is a free and open source tool that you can use in managing your databases. Using phpMyAdmin, you can manually create tables, edit values of a row, import and export data.
Let’s get started on how you can manage and configure MySQL database with ease using phpMyAdmin.
READ ALSO: How to Back Up and Restore MySQL Databases in cPanel
How To Manage MySQL Database With phpMyAdmin in cPanel
- Log into your cPanel.
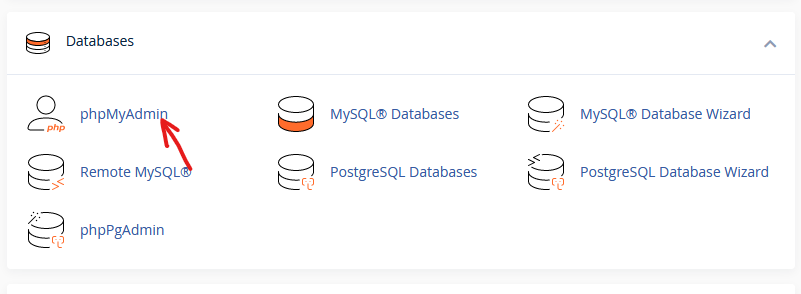
- In your cPanel, go to the Databases section and select phpMyAdmin.
- When you click on it, you will be taken to the main phpMyAdmin page which looks like this.

- On the left hand panel, you will find a list of all your databases and when you click on the plus (+) icon next to each database, it will expand to show the table in each database. On the right hand side, you will see the general information about the database server.
- To manage your database, click on the plus (+) icon next to the particular database that you want to work on. When the list of tables appears, select the one you want to manage.
- Once you have selected a database, at the top menu you will see a list of actions you can perform like Structure, SQL, Search, Insert, Export, Import, Operations, and Triggers.
Following this guide, you can manage MySQL database with phpMyAdmin directly from your cPanel and perform all your configuration. If you don’t have any experience in these, you will have to contact a developer for assistance. If you have any question, please leave them in the comment section.