
In this tutorial, I will show you how to use address importer in your cPanel.
In cPanel, you have the Address Importer, a very useful feature that allows you to create multiple email accounts or forwarders by simply uploading a file that contains all the addresses. The file can be a Microsoft® Excel® spreadsheet file (.xls) or a CSV file (.csv). Using this process saves you a lot of time and stress compared to adding the addresses one after the other by hand.
Before we start, ensure you have prepared the CSV or Excel file.
Let’s get started.
READ MORE: How To Configure Email Routing In cPanel
How To Use Address Importer In Your cPanel
- Log into your cPanel.
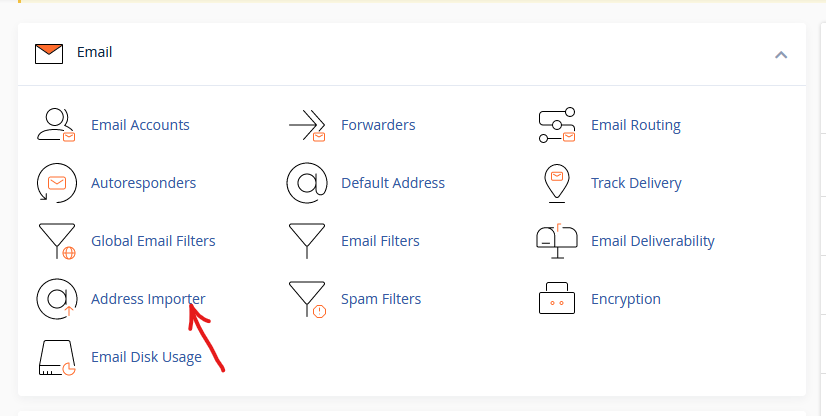
- In your cPanel, go to the Email section and select Address Importer.
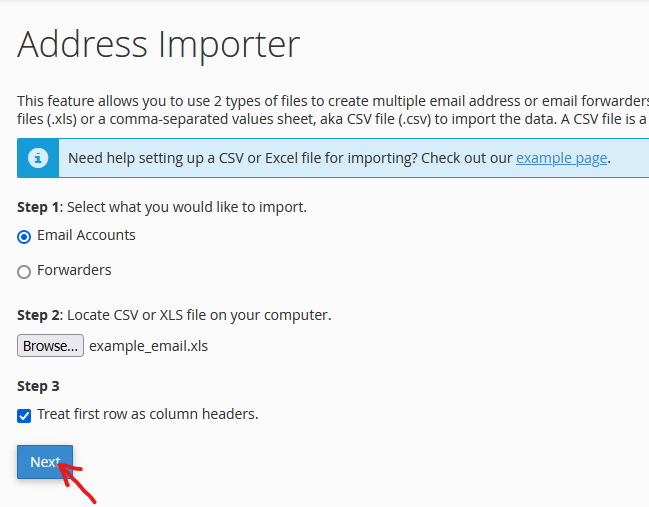
- In the Address Importer page, select if you want to import Email Accounts or Forwarders.
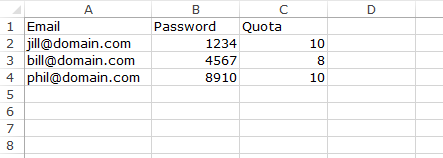
For the Email Accounts, you will need the Email Address, Password, Domain and Quota.
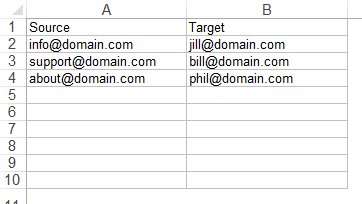
For the Forwarders, you will need the Source Email Address and Destination Email Address.
- When you have selected the option you want, click on Browse.
- Once the file has been uploaded, click on Next.
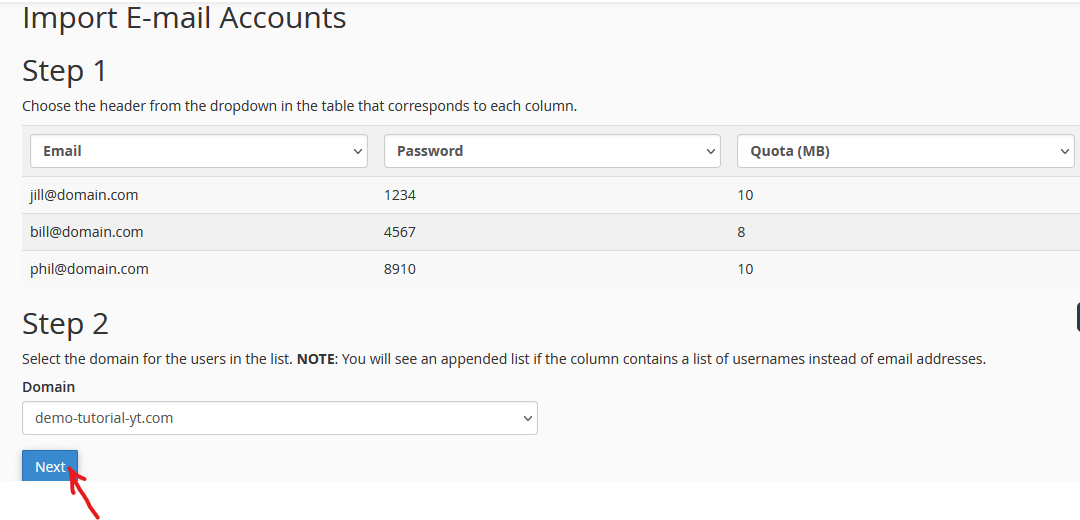
- You will be taken to a new page. In Step 1, depending on your choice, you will see the email forwarders or email accounts you imported. In Step 2, you will see the domain under which the users are listed. If everything is to your satisfaction, click on Next.
- Complete the process and add the users by clicking Finish.
That is how you use the address importer in your cPanel. If you have any questions, please leave them in the comment box. I’d be happy to hear from you.