Config Server Firewall or CSF is a Stateful Packet Inspection (SPI) firewall that is a powerful and must-install application that you can install via WHM on cPanel. It works as a system for intrusion detection and a prime security application for your Linux server. As a security tool, CSF protects your server against various common threats such as brute force attacks while improving the overall server security.
The CSF application is also available for other control panel applications to install and deploy.
Table of Contents
To Install CSF Firewall
To install CSF on cPanel, you have to use your server’s SSH access.
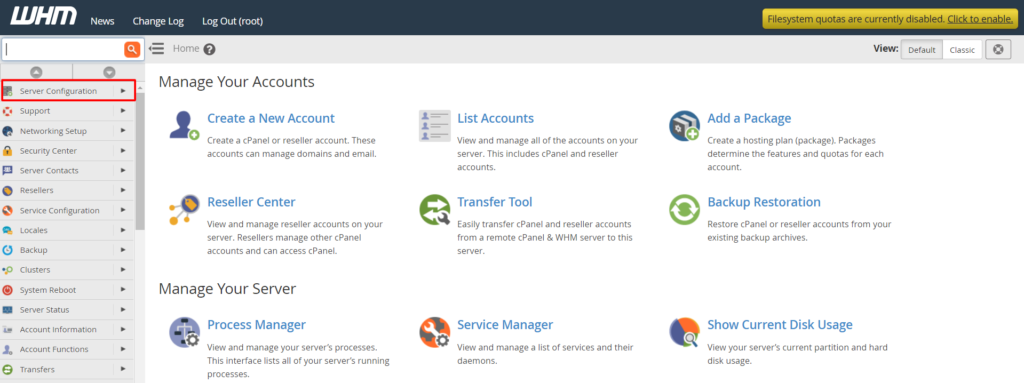
1. Log in to the WHM panel with the root account.
2. Select the Server Configuration option from the navigation menu.
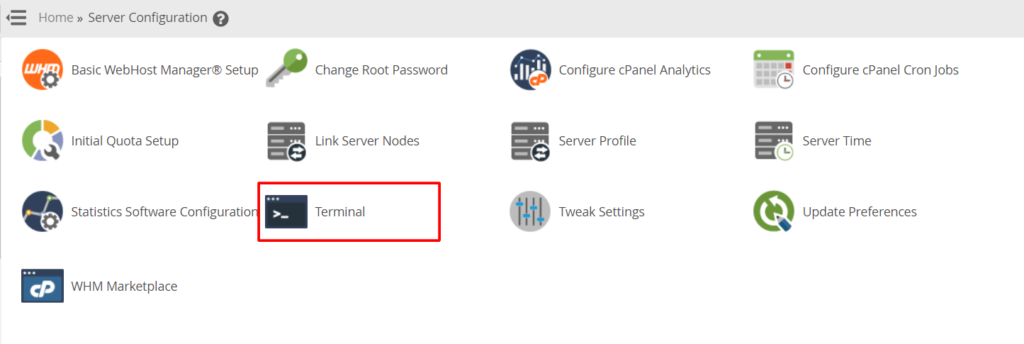
3. Click on Terminal to open the WHM terminal window.
4. Copy/enter this code in the Terminal window.
cd /usr/local/src/
wget https://download.configserver.com/csf.tgz
tar -xzf csf.tgz
cd csf
sh install.sh
WHM will run the command and automatically download the compatible version of CSF for cPanel.
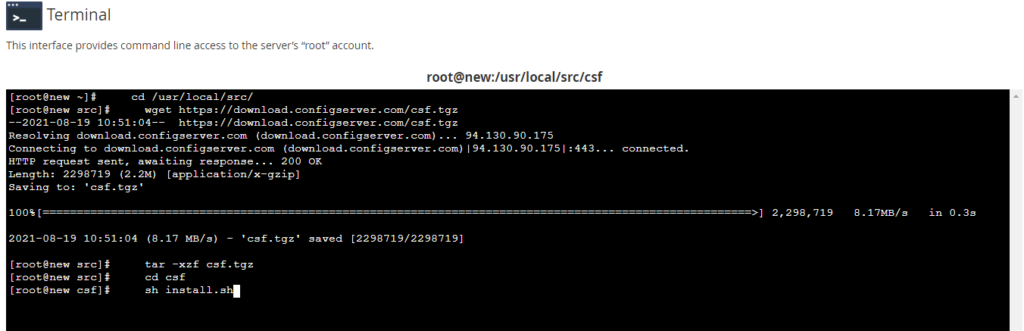
5. Press Enter to run the installation.
The WHM panel will begin the installation process of the CSF application and display a success message for the completed installation.
Once you install the CSF application, you will have to configure it.
To Configure the CSF Firewall
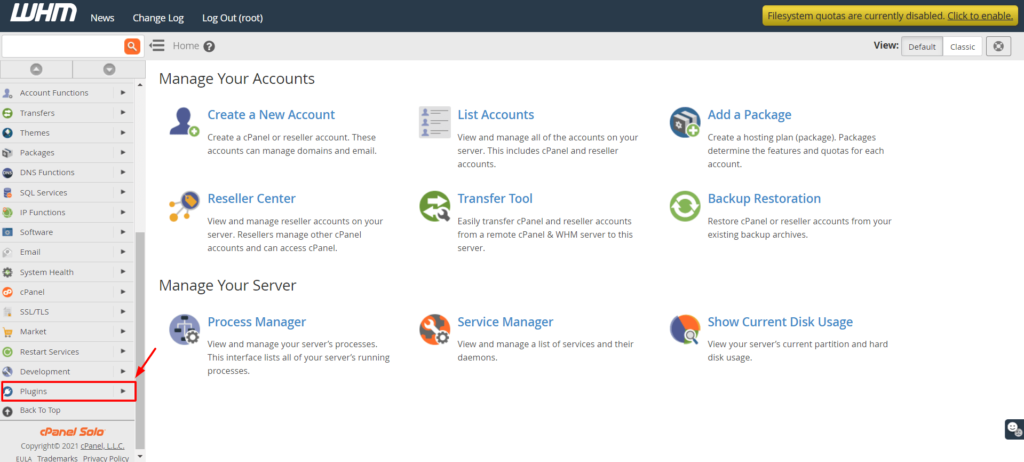
1. Go back to the Home of your WHM dashboard and select the Plugins option from the navigation menu.
2. Here, you will see the option ConfigServer Security & Firewall. Click on it.
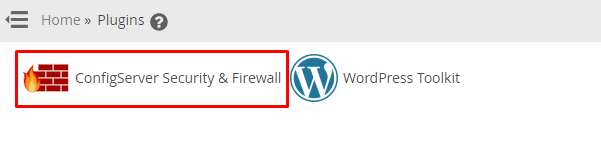
Here, you will find a variety of options to configure the ConfigServer Security & Firewall application.
3. Click on the csf tab.
4. Scroll down a little to the csf – ConfigServer Firewall section and click on the Firewall Configuration button.
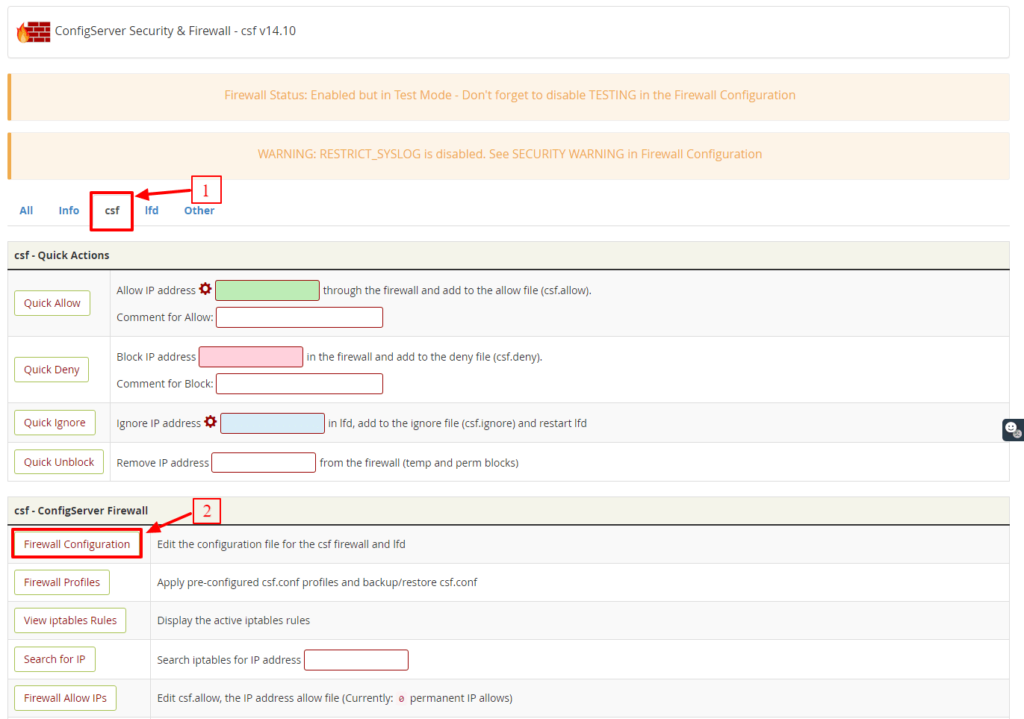
You will find all the options for the firewall configurations. We will see a quick rundown on the important settings to get you started.
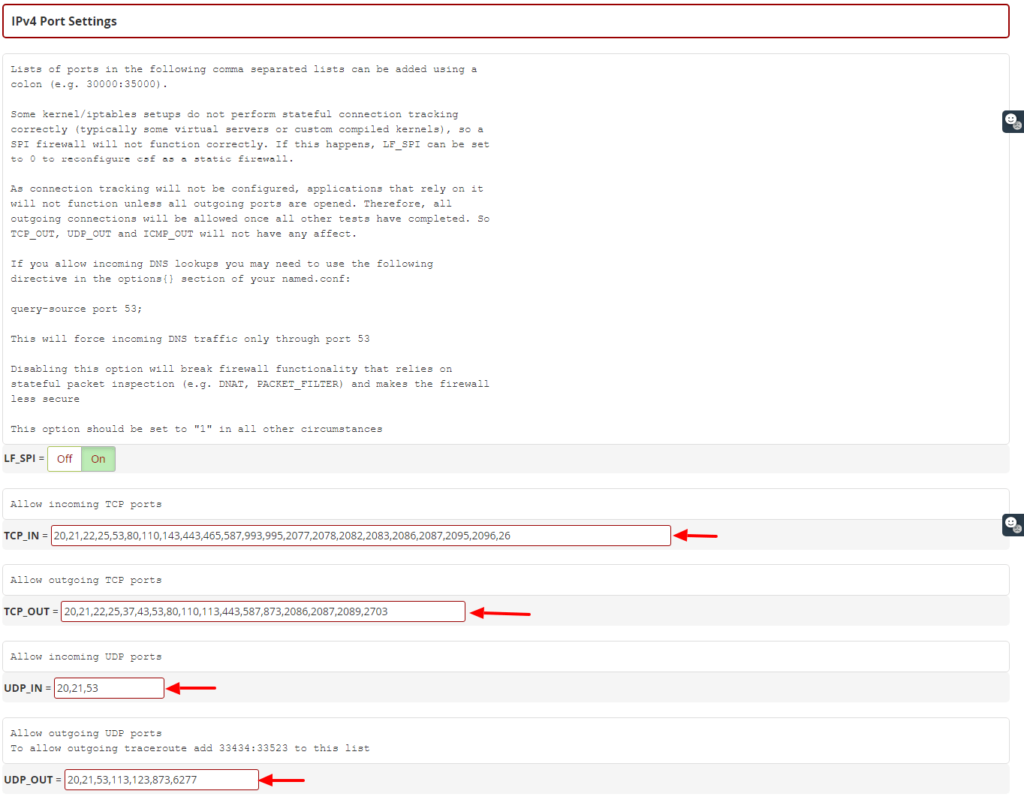
1. Settings for Port Filtering Configuration – IPv4 Port
For the IPv4 Port, you will notice these ports as open by default:
TCP_IN = “20,21,22,25,53,80,110,143,443,465,587,993,995,2077,2078,2082,2083,2086,2087,2095,2096,26”
TCP_OUT = “20,21,22,25,37,43,53,80,110,113,443,587,873,2086,2087,2089,2703”
UDP_IN 20,21,53
UDP_OUT 20,21,53,113,123,873,6277
Once you have changed your SSH port number, add this new port on the IPv4 Port Settings and/or IPv6 Port Settings. You can also add a specific port for a newly installed application on the server from this section.
We recommend the users who deploy the R1soft/Idera external backup solution to allow the inbound traffic for TCP port 1167 in the port TCP_IN section.
2. Activate the Syslog Monitoring
Scroll down to the General Settings section and set the SYSLOG_CHECK to 1800.

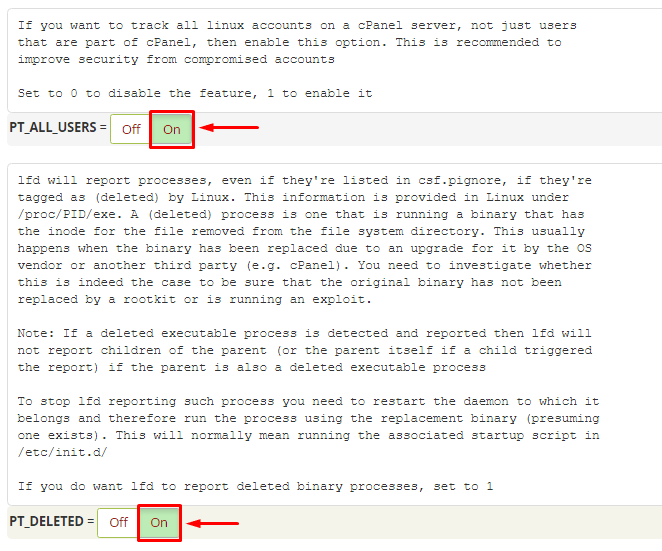
3. Activate the Detection of Suspicious Processes
Scroll down to the Process Tracking section.
Set “PT_ALL_USERS” to “ON“
Set “PT_DELETED” to “ON“
4. Activate Spam Protection and Detection of Suspicious Emails
With CSF, you can secure your server from spams and bulk email activity.
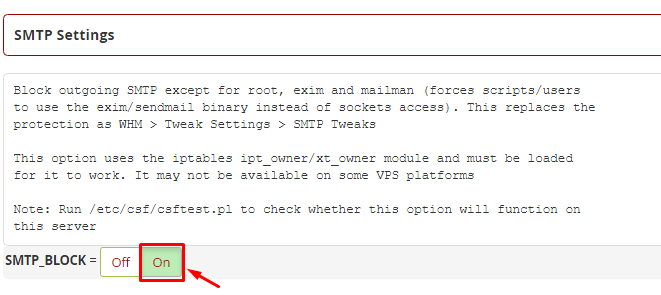
Scroll down to the SMTP Settings section.
Switch the SMTP_BLOCK to On.
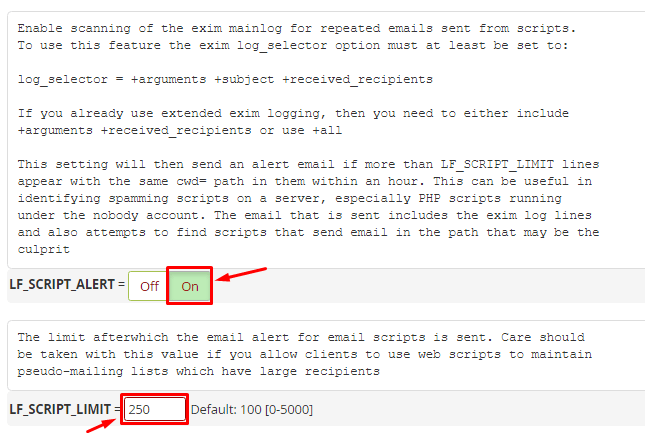
Scroll down to the Login Failure Blocking and Alerts section
Locate the LF_SCRIPT_LIMIT and set it to 250. It will detect the scripts sending more than 250 emails in an hour.
Switch the LF_SCRIPT_ALERT to On. It will alert the system administrator via email when the LF_SCRIPT_LIMIT is breached.
5. Save the Changes and Confirm the Status
Scroll down to the end of the page and click the Change button.
Click the Return button to go back to the main dashboard of the ConfigServer Security & Firewall application.
After confirming that you have made all the necessary configurations, you need to:
Disable Testing
Currently, your CSF application is running in the Test Mode. You have to deactivate the mode.
Reaccess the csf – ConfigServer Firewall section and click the Firewall Configuration button.
Locate the TESTING option in the Initial Settings section.
Click on the Off switch.

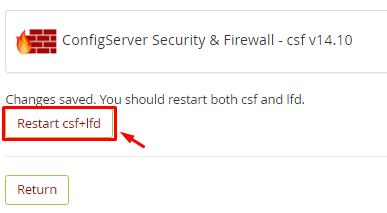
Again, you have to repeat the process to save the configurations. Click the Change button, and then the Restart csf+isd button.
With it, you will have successfully installed and activated the CSF Firewall on your cPanel server.