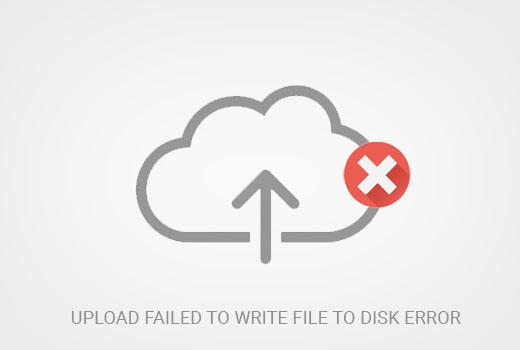
It can be very annoying if you start seeing an “Upload: Failed to write file to disk” error on your site when you are trying to upload a file. The error can be frustrating because you won’t be able to make any upload until it has been fixed.
In this article, I have made a list of easy-to-follow steps on how you can fix the “Upload: failed to write file to disk” error in WordPress. Once you have successfully fixed the error, you can go back to uploading files on your WordPress.
Table of Contents
The Reason You Are Getting “Upload: Failed to Write File to Disk” Error in WordPress
There are numerous reasons why you are getting the “Upload: Failed to Write File to Disk” error every time you attempt to make an upload on your WordPress Media Library. The most common cause is due to incorrect site folder permissions.
For security reasons, every file and folder on your WordPress site has a set of permissions. This way your web server controls who accesses these files, ensuring it is the right users that have permission to modify the files, including the folder.
A user with incorrect folder permissions will be unable to modify or write files on the web server of the site. All your attempts to upload or create new files on your web server to that particular folder will be unsuccessful.
One more reason you are seeing this error is that the temporary files directory of your site is full and you have to empty it before making any other upload.
Another reason why you are getting the “Upload: failed to write file to disk” error can be because your site has gone past the quota limit that was set for your website by the site’s hosting provider. You can check this out by confirming your hosting plan or contacting your hosting provider. You can upgrade your hosting plan and move to a much better plan with bigger disk space.
How to Fix “Upload: Failed to Write File to Disk” Error in WordPress
Option 1: Change the Folder/ File Permission of Your Uploads Directory.
Incorrect site folder permission is the most common reason for WordPress errors when uploading files. The web server prevents users without appropriate permission from writing and modifying files on that folder.
Using File Transfer Protocol (FTP), you can modify and change permission to your site’s files and folders.
The first step, install an FTP client like FileZilla into your computer then connect it to your WordPress site to the FTP client.
After successfully connecting to the FTP client, go to your WordPress installation folder (public_html) and select the wp-content folder.
In the folder, select File Permissions.
A dialog box will open showing you file permissions options for the owner, group, and public. In the numeric value section, enter 755 into the field.
Once you are done, go to Recurse into subdirectories and check the box beside it. And lastly, select Apply to directories only. Then click on OK to save the settings.
But for this setting to work, you have to change permissions for files that are inside the folder. You can do using FileZilla, and once again go to the wp-content folder.
In the folder, select the File Permissions and enter 644 in the numeric value section. Check the Recurse into the subdirectories box, and finally click Apply to files only option. Then save your settings by clicking OK.
Option 2: Check Your WordPress Temporary Folder.
If the reason for the error isn’t your file permission, then you should check your WordPress temporary folder to ensure it isn’t filled to the maximum. You don’t need FTP for access to this directory.
Contents uploaded on WordPress are usually stored in a temporary folder on your web server before they are being moved to the Upload folder.
But if the temporary folder on your WordPress site has reached its maximum capacity, WordPress will be unable to add files to the folder resulting in the Upload: Failed to Write File to Disk error.
This folder is located in your server, which is inaccessible to FTP. So to sort this error, you will have to contact your web host to help you clear your site’s temporary folder.
Option 3: Check If Your Site Has Passed Quota Limit.
One more thing to check when trying to figure out the reason for the Upload: Failed to Write File to Disk error is to check if your site has exceeded its quota limit, using up all the disk space that was allocated to your site by your hosting provider. This issue is more likely if you are using shared hosting for your site. This is caused by the various posts, images, themes, plugins, etc. you have added to the site over time.
You can solve this by upgrading to a better hosting plan that offers a bigger amount of disk space, or you can delete some of the unused files that are saved to the server.
Summary
To fix the Upload: Failed to Write File to Disk error on your WordPress site, I have listed tips here that will help you solve the problem quickly and not have to worry about it ruining your day. Below is a summary of the steps listed above that you have to follow:
- Change the folder/ file permission of your uploads directory.
- Check your WordPress temporary folder.
- Check if your Site has passed the quota limit.