In this tutorial, I will show you how to setup SSH access using cPanel.
With SSH access, you can easily give your website better security with 2-factor authentication.
Let’s get started.
How To Setup SSH Access Using cPanel
- Log into your cPanel.
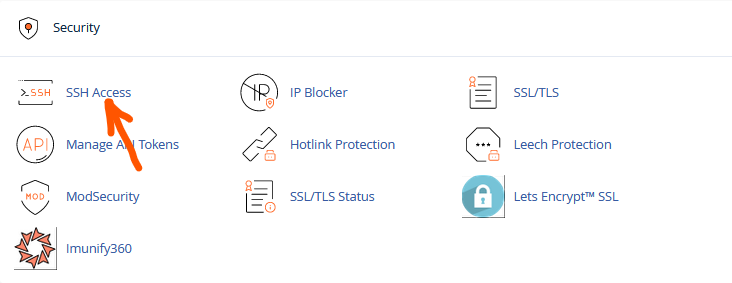
- Scroll down to the Security section and click SSH Access.
- On the next page, go to the Manage SSH Keys section and click the Manage SSH Keys button.
- On the next page, click on Generate a New Key.
- The default Key Name is set to id_rsa.
- In the provided Key Password and Reenter Password text boxes, enter a password for the key. You can also click Password Generator and cPanel generates a strong password.
- Confirm the Key Type is set to RSA.
- Confirm the Key Size is set to 2048.
- Click Generate Key. The cPanel will generate the public and private keys and save them in the /home/username/.ssh directory, where the username represents your hosting account username.
- Click Go Back.
- On the Manage SSH Keys page, you will see the names of the Public Keys and Private Keys. Under Actions, you will see Manage, where you can manage your SSH.
Following the guideline, you can easily setup SSH access using cPanel. If you have any questions, you can leave them in the comment section. I will love to hear from you.