
In your cPanel, you have the Auto Responder feature, an email feature that allows you to configure and automatically send response messages to any incoming email from that particular email address inbox. When you set up the email autoresponder, you can easily notify customers that you have gotten their email and send them a response without you even being around, and it can save you a lot of time, which is a great feature for when you are on holiday or away from the office. In this guide, we will look at how you can set an email autoresponder in your cPanel.
How to set Email Autoresponder in cPanel
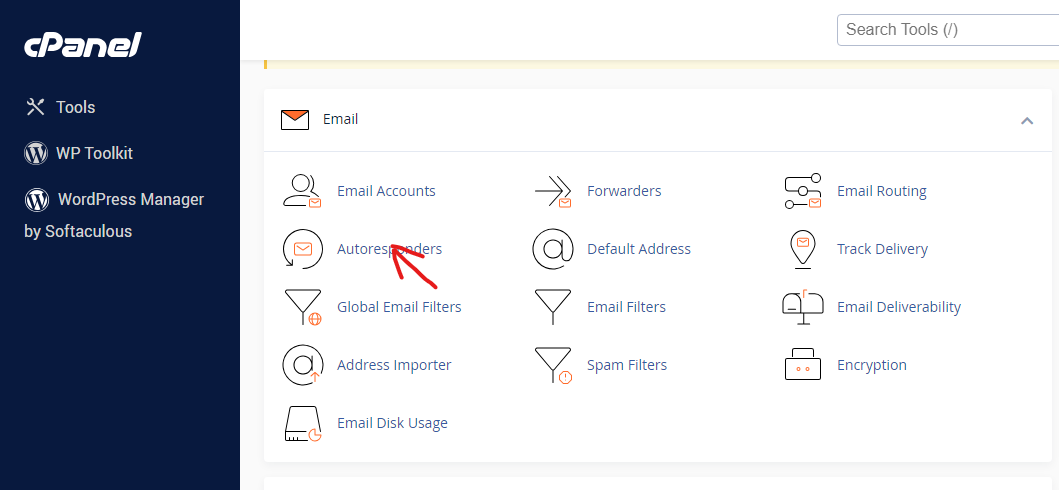
To set an email autoresponder, you must first log into your cPanel. In the cPanel, go to the Email section and select Autoresponders.
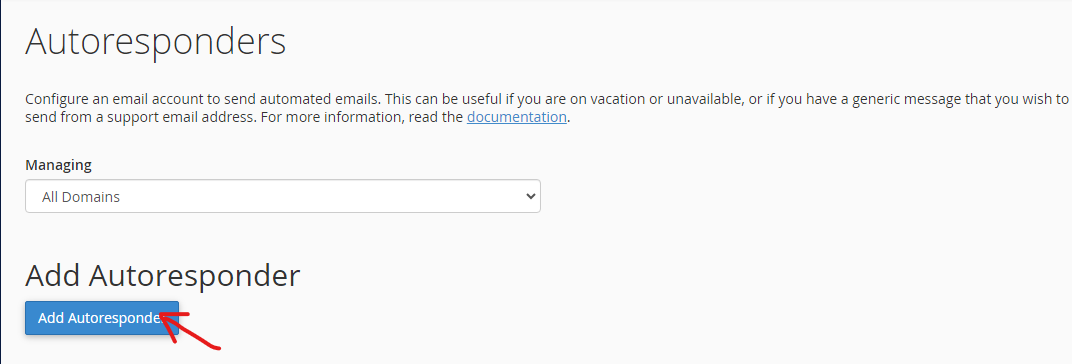
Click on the Add Autoresponder button. You will be taken to the next screen.
Now, let’s complete the field to create your AutoResponder:

- Character Set: The default character set is UTF-8. It is the most commonly used character set and is recommended.

- Interval: You can use this to set the hours you want the Autoresponder to wait before replying to emails from the same email address. That is, if the same email address sends you an email a second time, how long does the Autoresponder have to wait to respond to the email. You can set it to 0 if the reply is instant.

- Email: Here, you can choose the email address you want to use in the autoresponder.

- Domain: Select the domain that you will use with the email address.

- From: In this field, you will enter the name you want to appear in the autoresponse message.

- Subject: Enter the subject that you would like to show up in the Autoresponder.
- HTML checkbox: If the autoresponse email contains HTML tags you want to show, you can check the box. But if you want the HTML tags to appear as plain text, leave the box unchecked.
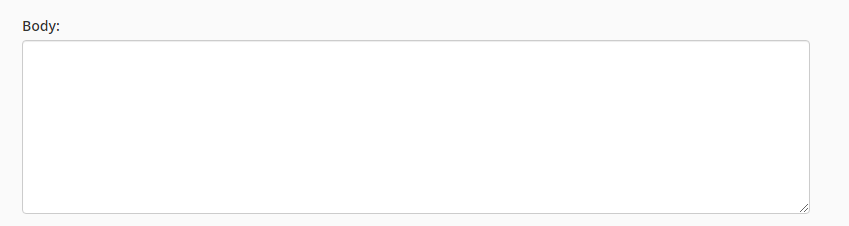
- Body: In this field, you will enter the message you want to send in the Autoresponder.
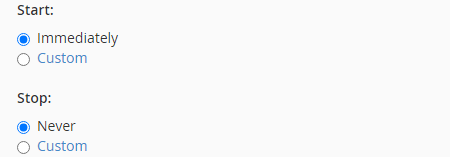
- Start: You can choose if you want the autoresponder to begin Immediately or to set a Custom start time.
- Stop: You can set the autoresponder to Never stop responding or to stop at a Custom date and time.
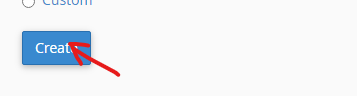
When you are done with all of that, you can go ahead and click on the Create button.
Now, you have successfully set an email autoresponder in your cPanel.