In today’s blog post, we will cover how to connect your domain name to a Shopify store,
Shopify provides a comprehensive suite of e-commerce systems that is essential for establishing your online presence and showcasing your products.
After creating a Shopify store, it is initially accessible via a default Shopify domain. For instance, if your store is named ‘thriftstore,’ you can enter ‘http://thriftstore.myshopify.com‘ in your browser to view your website.
Alternatively, you can make your store accessible through a custom domain name registered with Harmonweb. To achieve this connection, follow these steps:
- Add your domain or subdomain to your Shopify account.
- Configure the necessary DNS records for your root domain and any subdomains within your Harmonweb account.
Once your domain or subdomain is linked to your Shopify store, you have 3 options for directing traffic from your custom-registered domain to your Shopify store
How to Connect Your Domain Name to a Shopify Store(Video)
How to Connect Your Domain Name to a Shopify Store from the Client Area
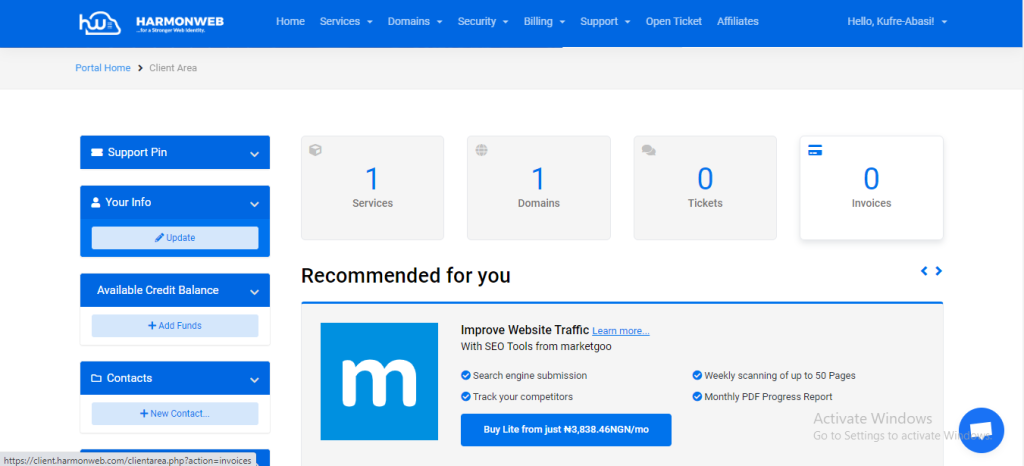
First, you need to purchase a domain name, and then you log into your Harmonweb account.
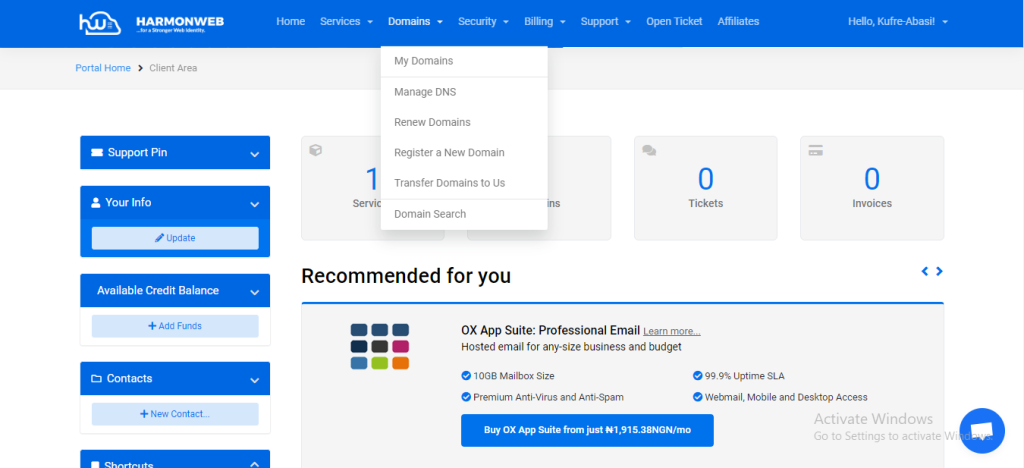
How to Connect Your Domain Name to a Shopify Store Using Manage DNS
Now, click on the dropdown menu beside the “Domain” section in the header, and select “Manage DNS”
The next step is to set up the DNS record.
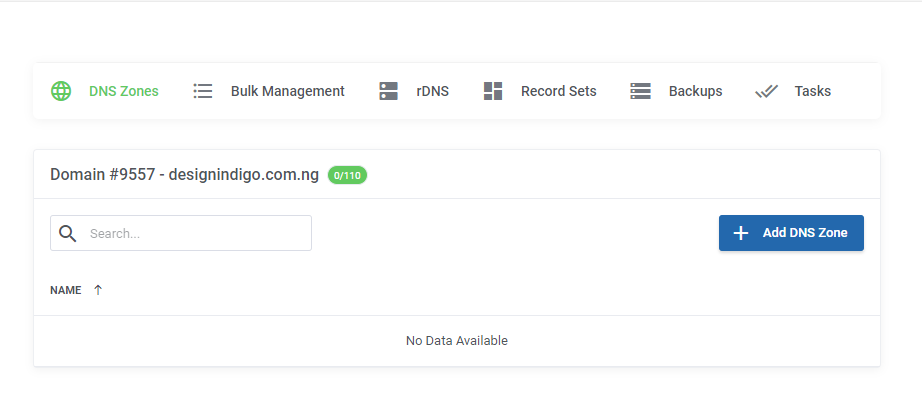
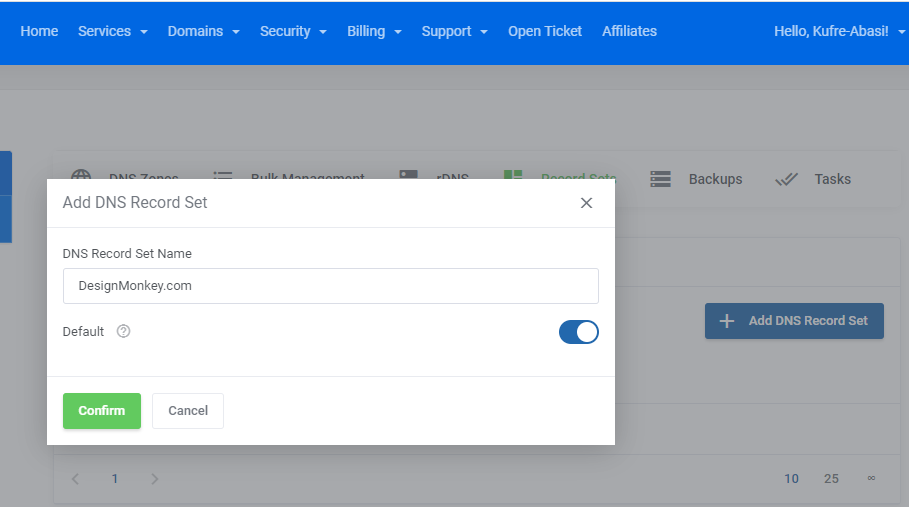
Navigate to the “Record Sets” section and click on it, then click on the “+ Add DNS Record Set” button, and then you will see a popup, put your domain name in the “DNS Record Set Name” placeholder and toggle “on” the default toggle bar. Click confirm to save the information.
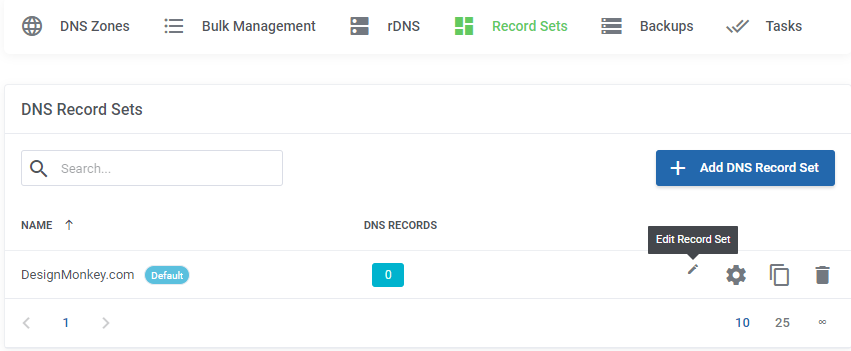
After saving it, hover above the tiny pencil-like icon (with an “Edit Record Set“) on the right-hand side of the screen and click on it.
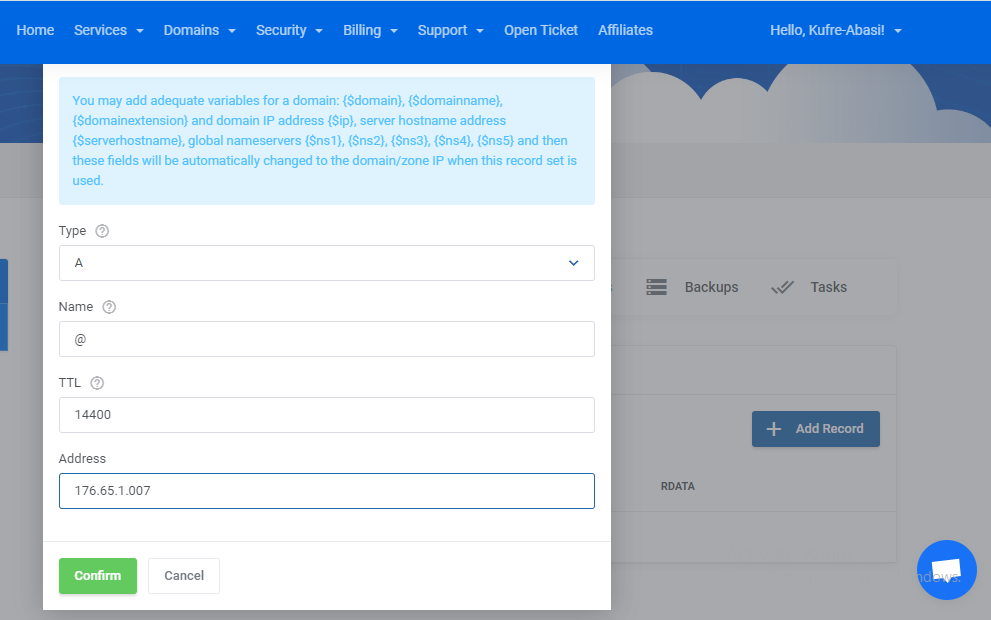
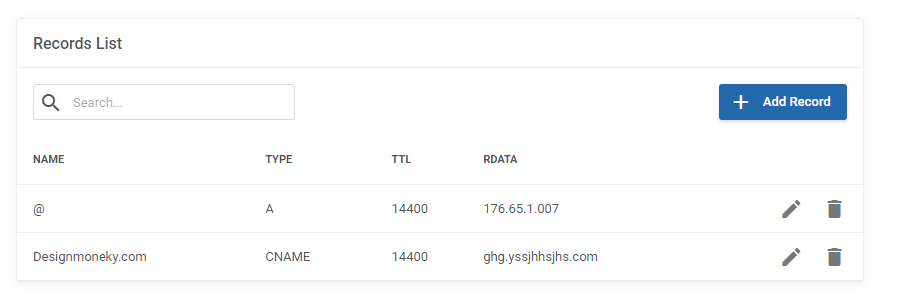
Now, click on the “Add Record” button, choose the record type (usually “CNAME” and “A” records), fill in the DNS records that you got from Shopify, and click on the confirm button to save.
How to Connect Your Domain Name to a Shopify Store Using The Client Area Zone Editor
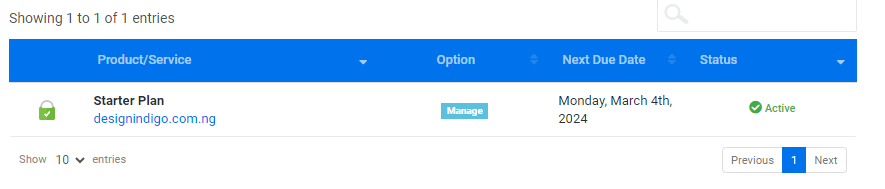
You can also connect your domain name to Shopify using the Zone Editor, So go to your services and click on manage beside the domain name of the hosting that you want to use.

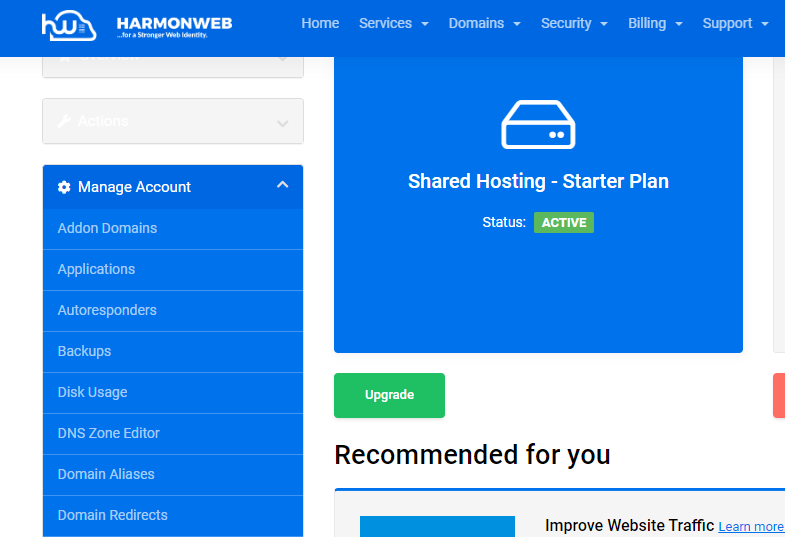
Scroll down to the “Manage Account” section on the left sidebar and click on “DNS Zone Editor“
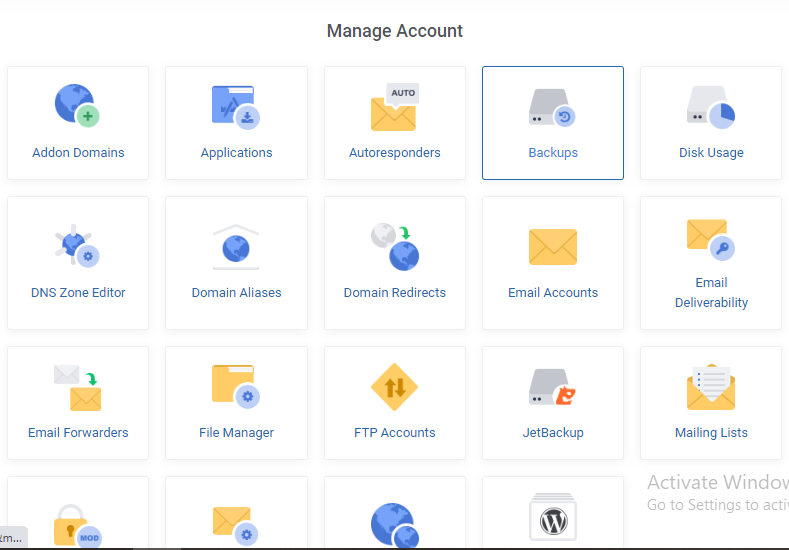
Alternatively, you can scroll down and click on the second “DNS Zone Editor” to Connect your domain name to Shopify.
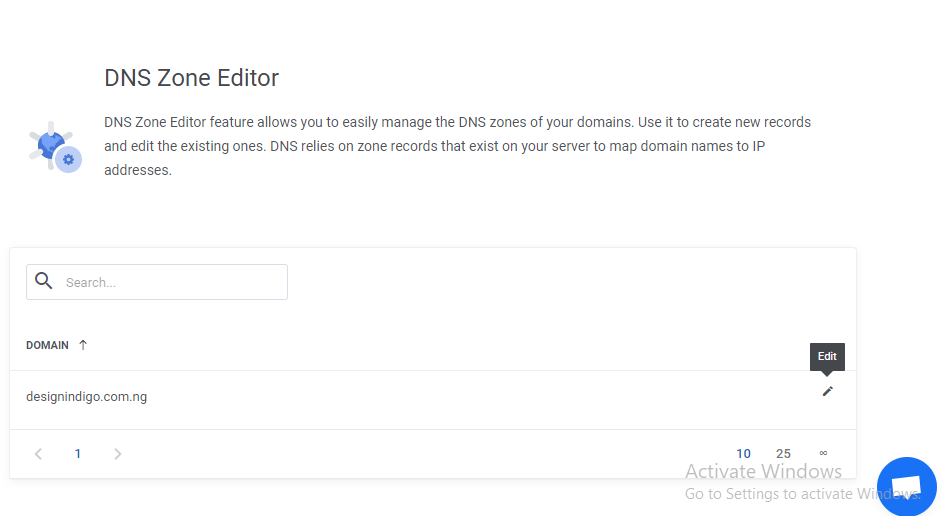
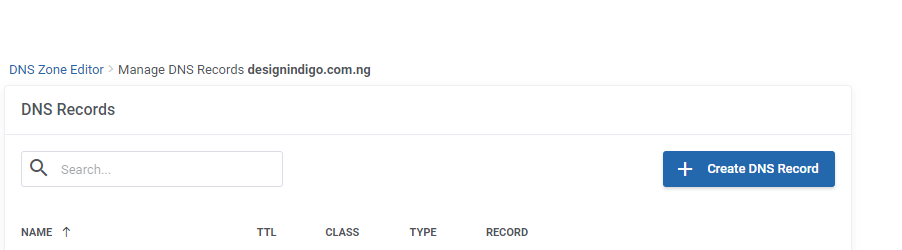
Now, click on the edit button icon to add your DNS record.
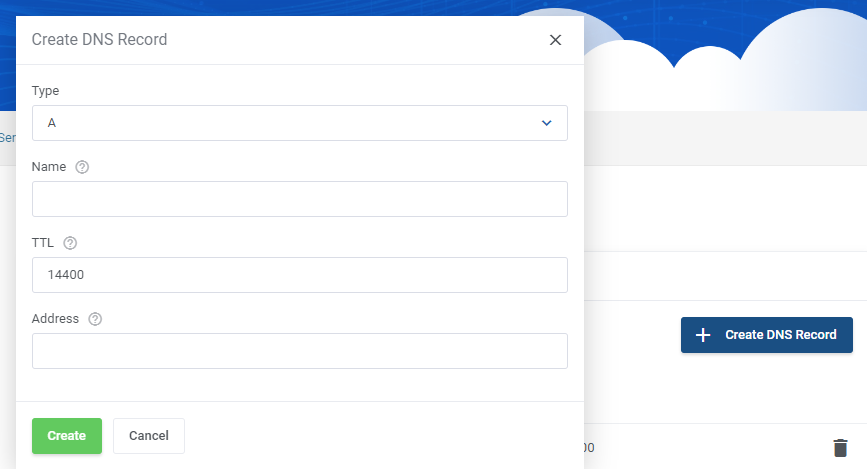
Click on the “Create DNS Record“
Add the “A” and “CNAME” records you got from Shopify and click on Create to save the record.
How to Connect Your Domain Name to a Shopify Store using cPanel
You can also connect your domain name to a Shopify store using your Cpanel, log into your cPanel, navigate to the “Domain Section”
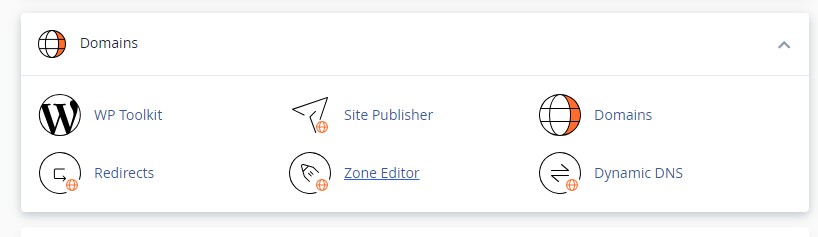
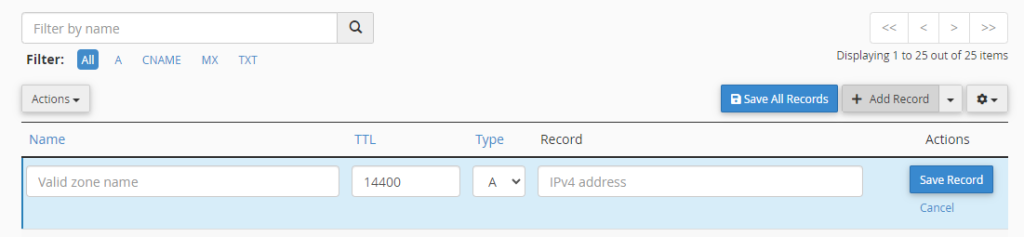
Click on “Zone Editor” and then click on “Manage”.
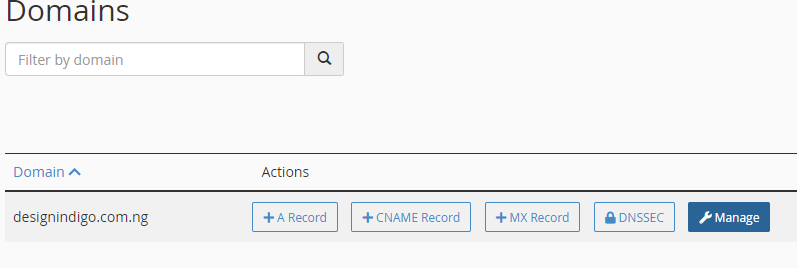
Click on “Add Record”, fill in the DNS record, and save, repeat the same process for the second DNS record and save it too.
You can use a different method by clicking on “+ A Record”
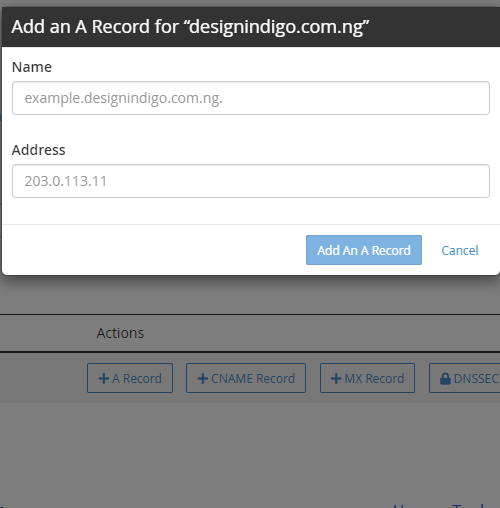
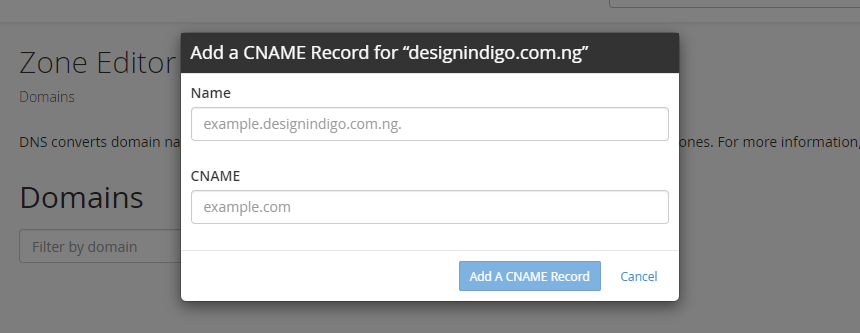
Input your “A” record in the input field and click on “Add An A Record” to save, repeat the same process for the “CNAME” Record and save too.
After inputting all the information, ensure you save the records.
Allow approximately 30 minutes for the records to be processed, then proceed to the Shopify admin and click ‘Verify Connection’ to confirm the successful linking of your custom domain to your store.
You can find more information on how to do this in Shopify’s own guide.