In this tutorial, we will learn how you can increase WordPress memory limit in cPanel for those of you who are experiencing a low memory limit.
WordPress is a great CMS platform with a lot of advantages when it comes to usage. However, there are some drawbacks and issues that you will experience during your use of WordPress.
One of the issues you will run into when using WordPress for your website is the PHP memory limit. This issue is usually common among new WordPress users.
If you run into this error on your WordPress website, there’s no need to panic, as it is very easy to fix. All you need to do is increase WordPress memory limit in cPanel.
Let’s get started.
How You Can Increase WordPress Memory Limit in cPanel
Here’s a guide on how you can increase the WordPress memory limit from your cPanel.
- You first have to log into your cPanel terminal. That is where you can begin the configuration.
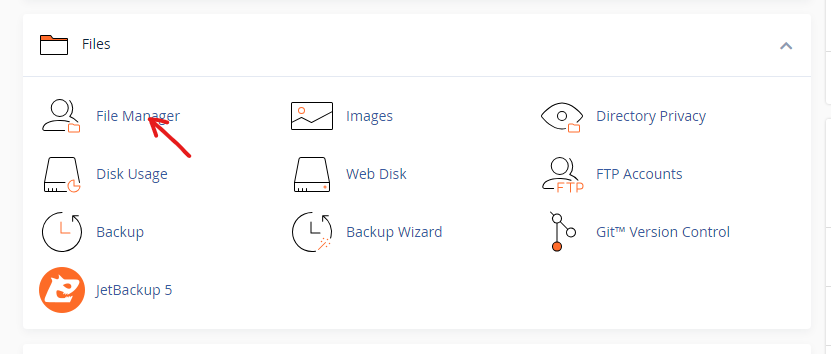
- Once you have logged into your cPanel account, go to the Files section and select File Manager.
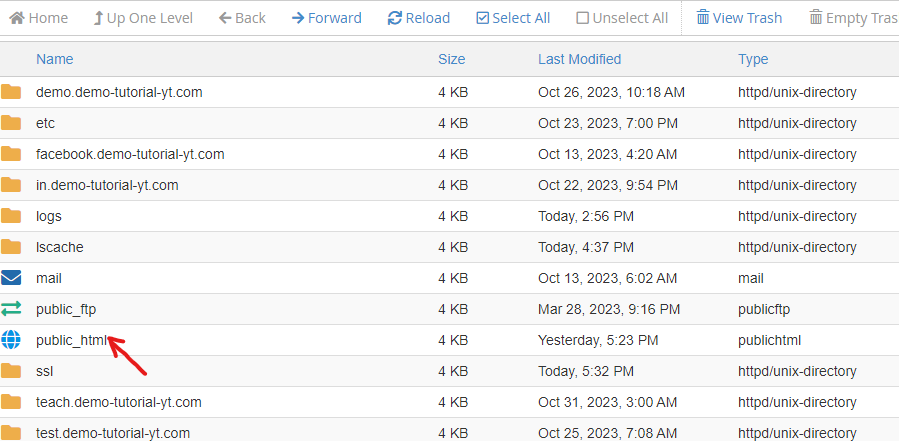
- In the File Manager, select the public_html.
- Now, scroll down and navigate to the root folder. Then select wp-config.php and click on Edit.
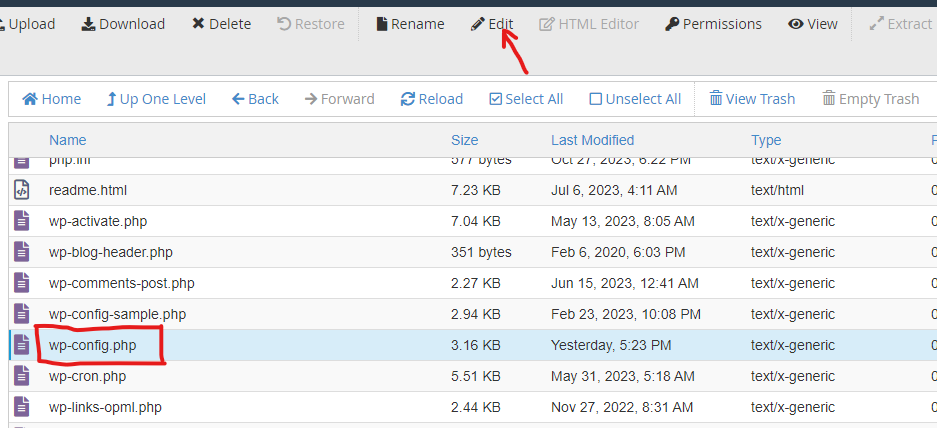
- You will be taken to the text editor screen. Scroll down, and right before the /* That’s all, stop editing! Happy publishing. */ line, you will add the following code:
define( ‘WP_MEMORY_LIMIT’, ‘512M’ );

- When you have done this, you can go ahead and click on the Save Changes button and exit the editor.
Now you have successfully increase WordPress memory limit in cPanel.