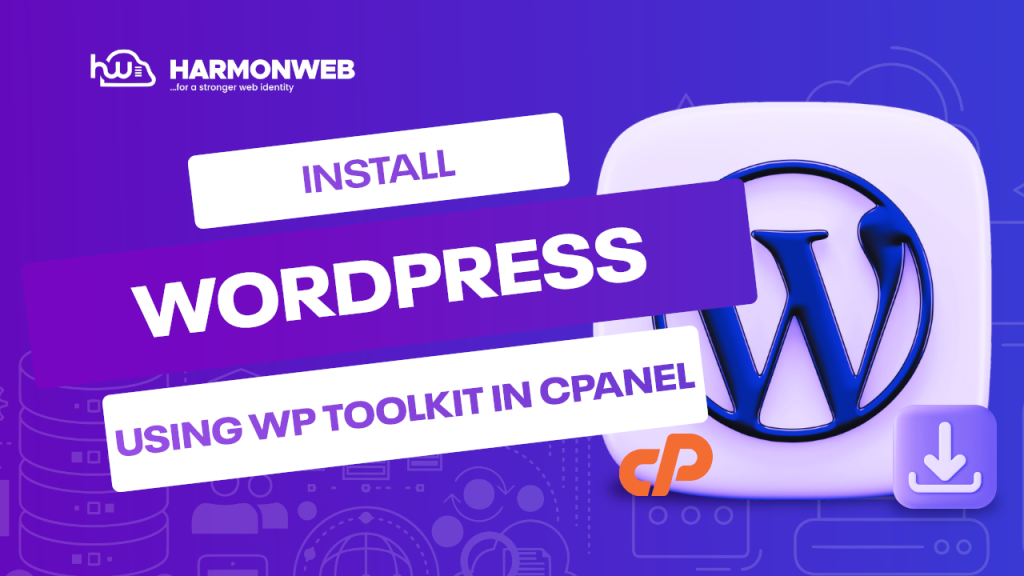
Do you know that you can easily install WordPress in cPanel using WP Toolkit?
Yes, we have looked at how you can install WordPress using Softaculous. However, WP Toolkit has a lot of cool features that you can use for the easy configuration and management of your WordPress websites.
Using WP Toolkit, you can install WordPress on your own domain right from your cPanel. In this tutorial, I will guide you through how you can install WordPress in cPanel using WP Toolkit.
Let’s get started.
How to Install WordPress in cPanel Using WP Toolkit
To get started and install WordPress in your domain using the WP Toolkit, you first need to log into your cPanel. You can access your cPanel directly through your Harmon Web client area.
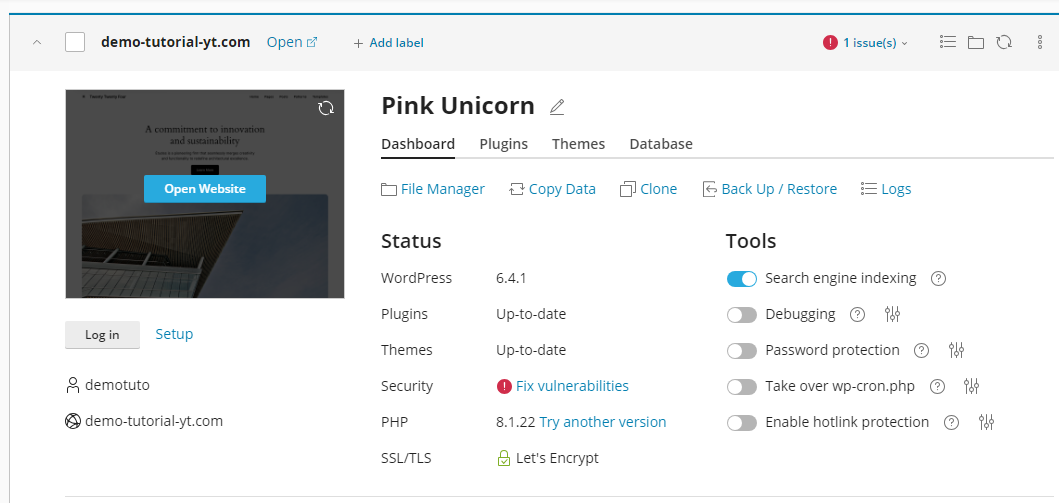
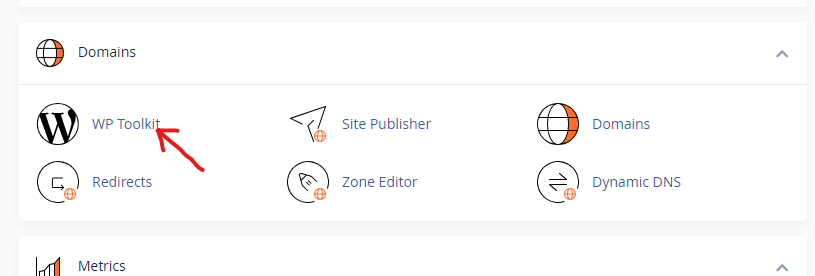
When you are logged in, scroll down to the Domains section and select WP Toolkit.
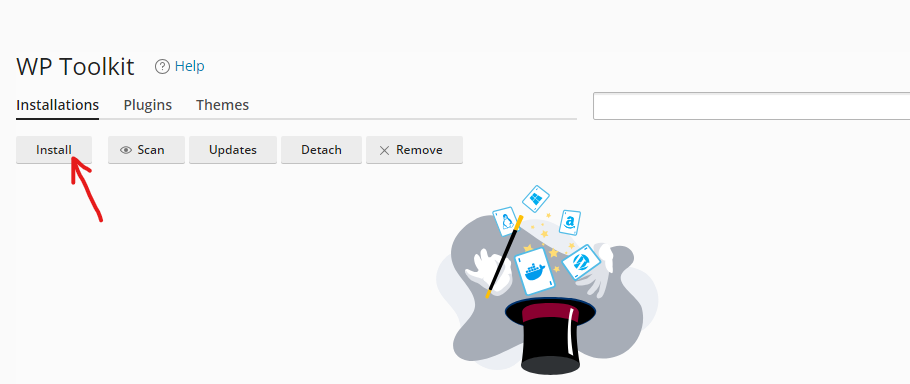
On the WP Toolkit page, under Installations click on the Install button.
In the Choose Installation options, you will have multiple options that will help you customise your website:
- In the Installation path text box, you have the option to set the folder or directory where you want to install WordPress. You can leave the Installation directory blank if you want to install WordPress directly on your domain.
- In the Website title text box, set the title of your website.
- In the Plugin/theme set drop-down list, you have the option to select the plugins and themes you want to install.
- In the Website language drop-down list, you can set the language for the site.
- In the Version drop-down list, choose the version of WordPress that you want to install. I recommend that you install the latest version.
- Under WordPress Administrator, you can set the username you want to use on your site in the Username text box.
- In the Password text box, set the password for the website.
- In the Email text box, enter a valid email address.
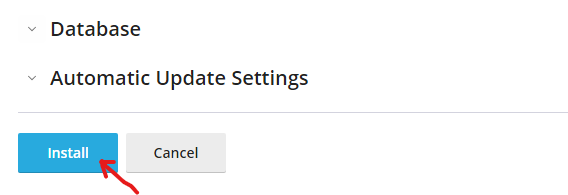
- Under Database, you have the option to change the database settings. It is not really necessary, so you can leave it the way it is.
- Under Automatic Update Settings, you have the option to set WordPress, the installed plugins, and themes to update automatically.
Once you are done with all the set up, go ahead and click Install to begin the installation process.
After you have completed the installation of WordPress, you will have the option to install plugins. Don’t worry, you can always do it later so just click on No, thanks.
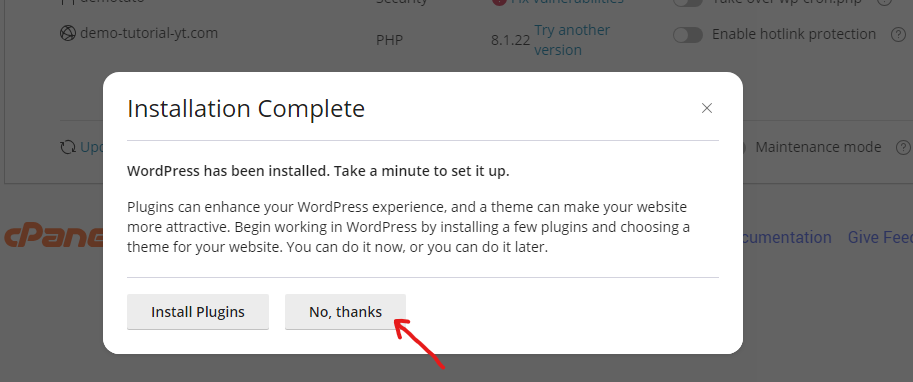
Now you have successfully install WordPress in cPanel using WP Toolkit.